Red Velvet Cupcakes Recipe | Moist, Easy, and Delicious Homemade Cupcakes
Introduction
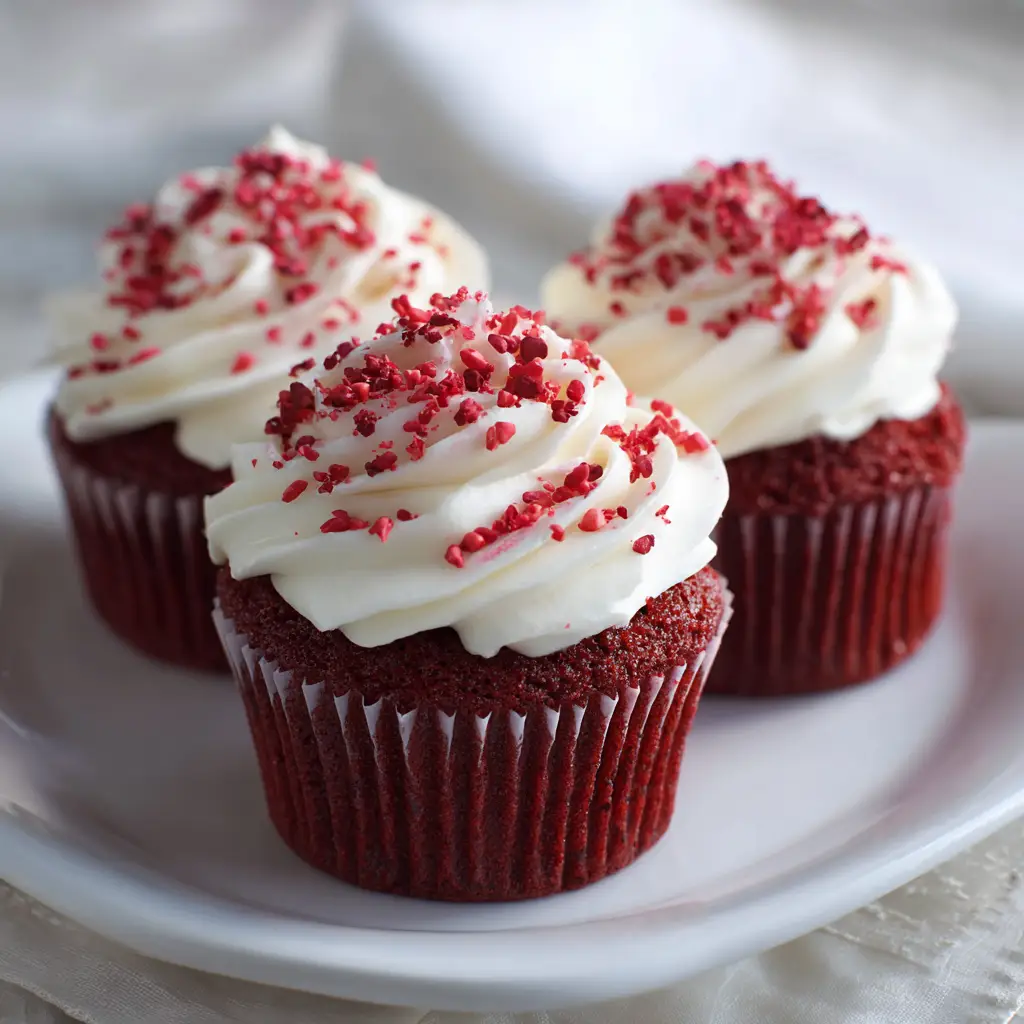
Red velvet cupcakes are more than just a dessert. Their vibrant red color paired with a light, moist texture makes them an irresistible treat for celebrations and everyday indulgences alike.
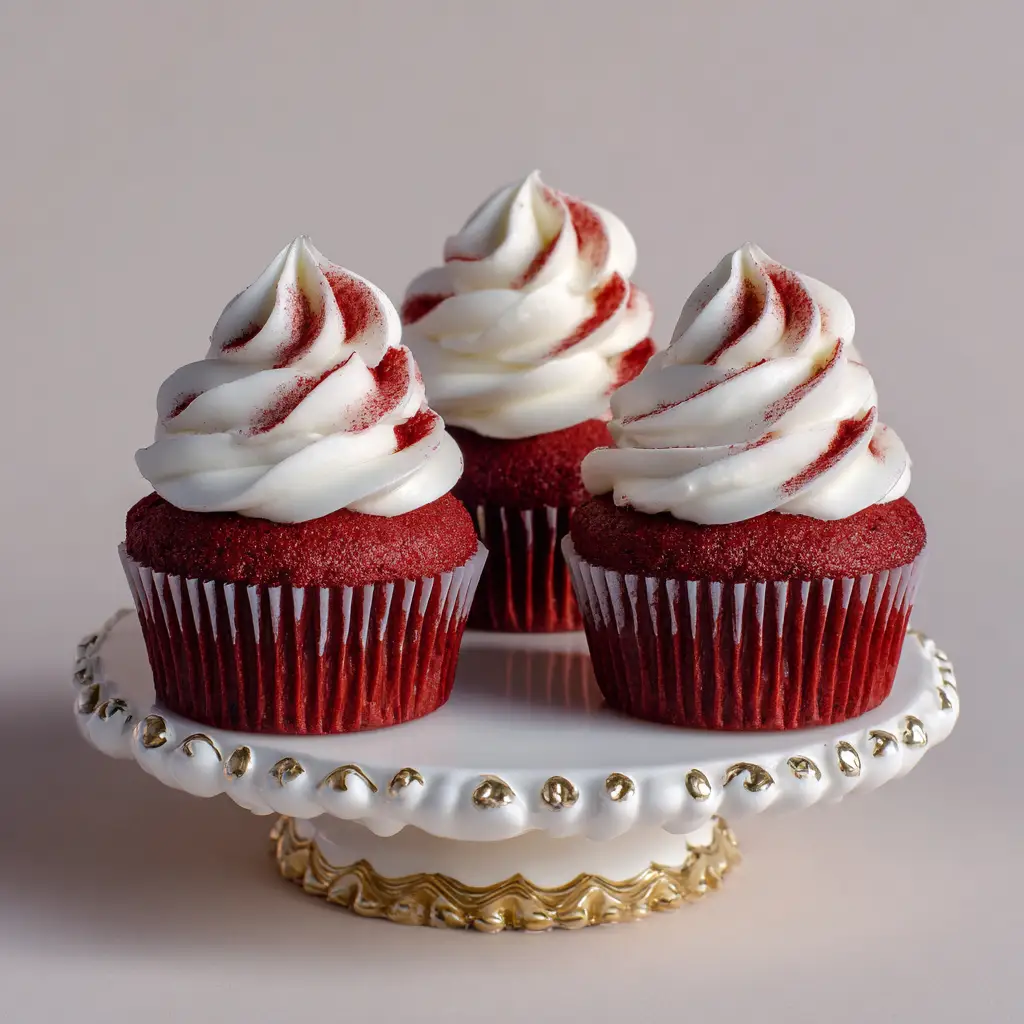
The delicate balance of cocoa flavor and tangy buttermilk creates a unique taste that sets these cupcakes apart from any other baked goods. Topped with a smooth, creamy frosting, they capture the essence of elegance while remaining delightfully simple. Baking red velvet cupcakes at home allows you to control the sweetness, experiment with flavors, and create something special for family and friends. Whether you are hosting a birthday party, a romantic dinner, or a casual tea time, these cupcakes never fail to impress. Mastering this recipe not only enhances your baking skills but also gives you the confidence to customize and innovate with each batch.
Ingredients Needed
Using high-quality ingredients is essential for achieving the soft texture and rich flavor of red velvet cupcakes. Below is a table listing all necessary ingredients along with their approximate calorie counts per serving.
| Ingredient | Amount | Calories per Serving |
|---|---|---|
| All-purpose flour | 1 and 1/4 cups | 455 |
| Granulated sugar | 1 cup | 774 |
| Unsalted butter | 1/2 cup (softened) | 814 |
| Eggs | 2 large | 144 |
| Buttermilk | 1/2 cup | 76 |
| Cocoa powder | 1 tablespoon | 12 |
| Baking soda | 1/2 teaspoon | 0 |
| Salt | 1/4 teaspoon | 0 |
| Vanilla extract | 1 teaspoon | 12 |
| White vinegar | 1 teaspoon | 0 |
| Red food coloring | 1 to 2 teaspoons | 10 |
| Cream cheese | 4 ounces (for frosting) | 400 |
| Powdered sugar | 1 cup (for frosting) | 480 |
| Unsalted butter | 1/4 cup (for frosting) | 407 |
Step-by-Step Cooking Instructions
- Preheat your oven to 350 degrees Fahrenheit. Line a 12-cup muffin pan with cupcake liners to prevent sticking.
- In a medium bowl, wPair this meal with Molten Lava Cake for a complete experience.hisk together flour, cocoa powder, baking soda, and salt. This ensures even distribution of dry ingredients and prevents lumps in the batter.
- In a large bowl, cream the softened butter and granulated sugar until light and fluffy. Adding eggs one at a time helps incorporate air, resulting in a tender crumb.
- Beat in vanilla extract and red food coloring until the color is uniform. A vibrant red batter enhances the final presentation.
- Alternate adding the dry ingredients and buttermilk to the butter mixture, starting and ending with dry ingredients. Mix gently to avoid overmixing, which can make cupcakes dense.
- Stir in white vinegar just before filling the cupcake liners. This reacts with the baking soda, creating tiny air bubbles that make the cupcakes light and airy.
- Divide the batter evenly among the cupcake liners, filling each about two-thirds full. This prevents overflow while baking.
- Bake for 18 to 22 minutes or until a toothpick inserted into the center comes out clean. Allow cupcakes to cool completely before frosting.
- To prepare cream cheese frosting, beat cream cheese and butter together until smooth. Gradually add powdered sugar and continue mixing until creamy. Frost cooled cupcakes using a spatula or piping bag for a professional touch.
Tips for Customizing the Recipe
Red velvet cupcakes are highly versatile. Swapping traditional vanilla extract with almond or coconut extract can create a unique flavor profile. Adding a teaspoon of espresso powder intensifies the cocoa taste without making the cupcakes bitter. For a healthier variation, you can replace half of the all-purpose flour with whole wheat flour or oat flour. Chocolate chips, fresh raspberries, or crushed nuts sprinkled into the batter add texture and surprise flavors. Frosting options are equally varied. Whipped cream, mascarpone frosting, or white chocolate ganache create different taste experiences while maintaining visual appeal. For special occasions, try layering cupcakes with jam or chocolate ganache in the center, transforming a simple dessert into a gourmet treat. Presentation can be enhanced with edible flowers, colored sugar, or themed cupcake toppers. Freezing unfrosted cupcakes extends shelf life, allowing you to frost them fresh when needed.

Nutritional Information
A single red velvet cupcake with cream cheese frosting provides a satisfying treat with balanced macronutrients. The sugar and butter contribute to the sweet and rich taste, while eggs and buttermilk add protein and calcium. Below is the approximate nutritional breakdown per cupcake:
Moderation is key, but enjoying one or two cupcakes as a treat fits well within a balanced diet. You can slightly reduce calories by using low-fat cream cheese or a sugar substitute in the frosting without compromising taste.
Serving Suggestions
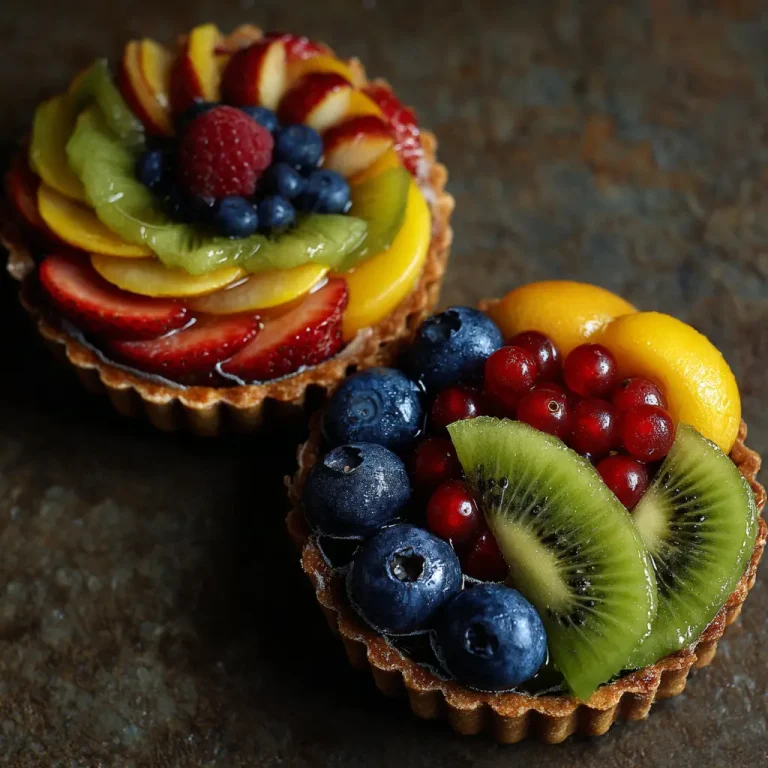
Red velvet cupcakes are perfect for any occasion. Serving them at room temperature allows the frosting to remain creamy and the texture soft. Pairing these cupcakes with hot beverages such as coffee, chai, or cocoa enhances the flavors. For a party, display them on a tiered cupcake stand with decorative toppers for an eye-catching presentation. Individual servings with a dollop of whipped cream or a drizzle of chocolate sauce can elevate a simple dessert to a gourmet experience. These cupcakes also work well as part of a dessert platter alongside mini cheesecakes, macarons, or fruit tarts. Seasonal fruits like raspberries or strawberries complement the rich cocoa flavor while adding a refreshing balance.

Red Velvet Cupcakes Recipe | Moist, Easy, and Delicious Homemade Cupcakes
Course: Blog12
servings20
minutes18
minutes320
kcalIngredients
For the Cupcakes:
1 and 1/4 cups all-purpose flour
1 cup granulated sugar
1/2 cup unsalted butter, softened
2 large eggs
1/2 cup buttermilk
1 tablespoon cocoa powder
1/2 teaspoon baking soda
1/4 teaspoon salt
Directions
- Preheat the oven to 350°F (175°C) and line a 12-cup muffin pan with cupcake liners.
- In a medium bowl, whisk together flour, cocoa powder, baking soda, and salt. Set aside.
- In a large bowl, cream butter and sugar until light and fluffy.
- Add eggs one at a time, beating well after each. Mix in vanilla extract and red food coloring until uniform.
Recipe Video
Notes
- For a more vibrant red color, add an extra teaspoon of food coloring.
Do not overmix the batter; it can make cupcakes dense.
Cupcakes can be stored in an airtight container for up to 3 days or frozen unfrosted for up to 3 months.
Frequently Asked Questions
Can I make red velvet cupcakes without food coloring?
Yes. The natural cocoa and vinegar combination produces a subtle reddish-brown color. However, adding red food coloring enhances the signature vibrant red appearance.
Can I freeze red velvet cupcakes?
Unfrosted cupcakes can be frozen for up to three months. Frost them after thawing for best results.
Can I substitute buttermilk?
You can make a buttermilk substitute by mixing 1/2 cup milk with 1/2 teaspoon lemon juice or vinegar and letting it sit for five minutes.
How do I prevent cupcakes from sinking in the middle?
Ensure your oven is fully preheated, avoid overmixing the batter, and do not open the oven door while baking.
Can I make these cupcakes vegan?
Yes. Replace eggs with flax eggs, use plant-based milk with vinegar for buttermilk, and select a vegan butter alternative for both batter and frosting.
Conclusion
Red velvet cupcakes combine beauty, flavor, and a sense of celebration in every bite. They are a versatile dessert that can be customized to suit any taste or occasion. Baking them at home allows for control over ingredients, presentation, and flavor. Mastering this recipe opens doors to creative variations while maintaining a classic appeal.