Homemade Syrup for Pancakes: Easy, Delicious, and Made from Scratch
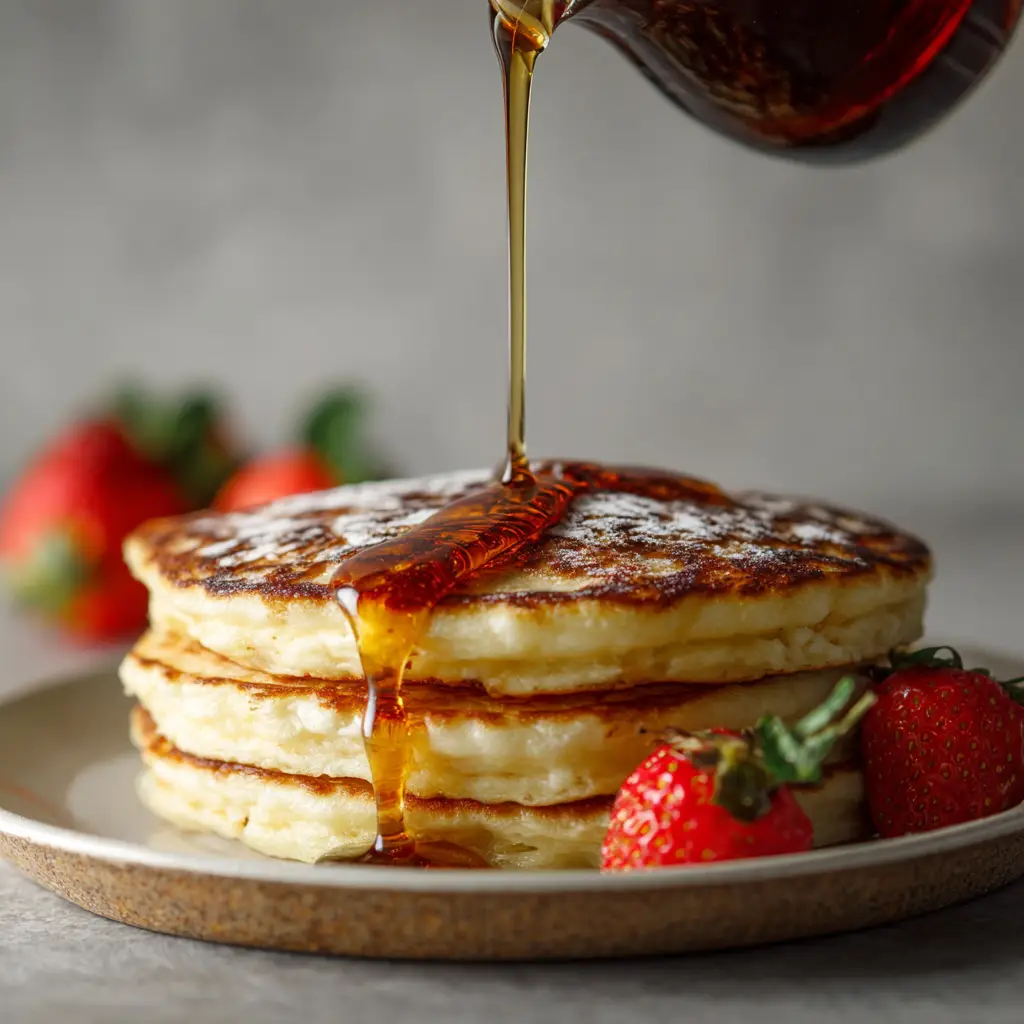
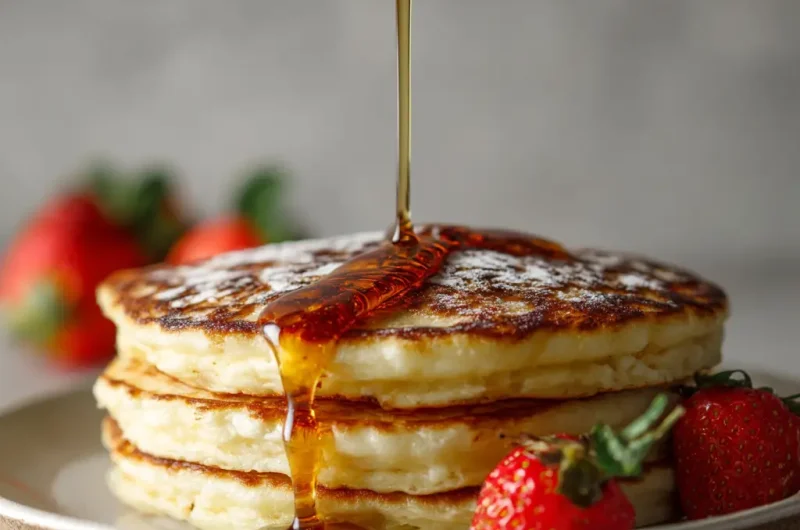
Pancakes feel incomplete without the perfect syrup. Whether you’re flipping a batch of fluffy buttermilk pancakes on a lazy Sunday or serving up a weekday breakfast treat, having a good syrup can elevate the experience. Many people reach for store-bought bottles, but making your own syrup at home brings flavor, freshness, and flexibility that can’t be matched.
Store-bought pancake syrups often contain artificial flavors, preservatives, and a lot more sugar than necessary. They might taste okay, but they rarely capture the depth and warmth of a syrup made with real ingredients and just the right touch of personal flair. Homemade syrup, on the other hand, lets you control the sweetness, texture, and even the flavor profile. You can make it thick and rich or light and pourable. You can infuse it with spices, fruits, or even herbs for something truly unique.
Not only does making your own syrup save money over time, but it also allows you to use ingredients you already have in your pantry. And the best part? It only takes a few minutes from start to finish. If you’ve ever wondered how to make your own syrup at home, this guide will walk you through everything you need to know.
Ingredients Needed
Creating homemade pancake syrup starts with simple ingredients. You can tweak these as needed, but here’s a classic version to get you started.
| Ingredient | Quantity | Estimated Calories |
|---|---|---|
| Granulated sugar | 1 cup | 774 |
| Brown sugar | 1 cup | 836 |
| Water | 1 cup | 0 |
| Vanilla extract | 1 teaspoon | 12 |
| Butter (optional) | 2 tablespoons | 204 |
| Salt | A pinch | 0 |
Total Estimated Calories (entire batch): Approximately 1826
Calories per tablespoon (serving size): Around 76
Keep in mind that butter is optional but adds richness and a slight caramel flavor that can really round out the syrup.
Step-by-Step Cooking Instructions
Making syrup from scratch is straightforward. Even beginners can master this on their first try. Just follow these simple steps.
Step 1: Combine Sugars and Water
In a medium saucepan, mix together the granulated sugar, brown sugar, and water. Stir to combine evenly before turning on the heat. This helps the sugars dissolve more efficiently.
Step 2: Bring to a Gentle Boil
Turn the heat to medium and bring the mixture to a gentle boil. Stir occasionally to prevent burning at the bottom of the pan. Once it starts bubbling, reduce the heat to low and let it simmer for 5 to 7 minutes. This step thickens the syrup and develops flavor.
Step 3: Add Flavor Enhancers
Remove the pan from the heat. Stir in the vanilla extract and a pinch of salt. If you’re using butter, add it now and stir until fully melted. This gives the syrup a smooth texture and a rich, buttery finish.Another classic you shouldn’t miss is Sweet Potato Pancakes _ which complements this dish well.
Step 4: Let It Cool Slightly
Allow the syrup to cool for 5 to 10 minutes before serving. As it cools, it will continue to thicken. If it becomes too thick later on, you can gently reheat it or stir in a teaspoon of hot water.
Step 5: Store Leftovers
Transfer the syrup to a clean, airtight jar or bottle. Store in the refrigerator for up to a month. Reheat gently before serving.
Tips for Customizing the Recipe
Homemade pancake syrup is incredibly versatile. You can make it your own with just a few simple tweaks.
Use Maple Flavoring
If you love that classic maple taste but don’t want to buy real maple syrup, add half a teaspoon of maple extract. It mimics the traditional flavor without the high cost.
Add Spices
Cinnamon, nutmeg, or clove can give your syrup a cozy, warm twist—perfect for fall mornings or holiday brunches.
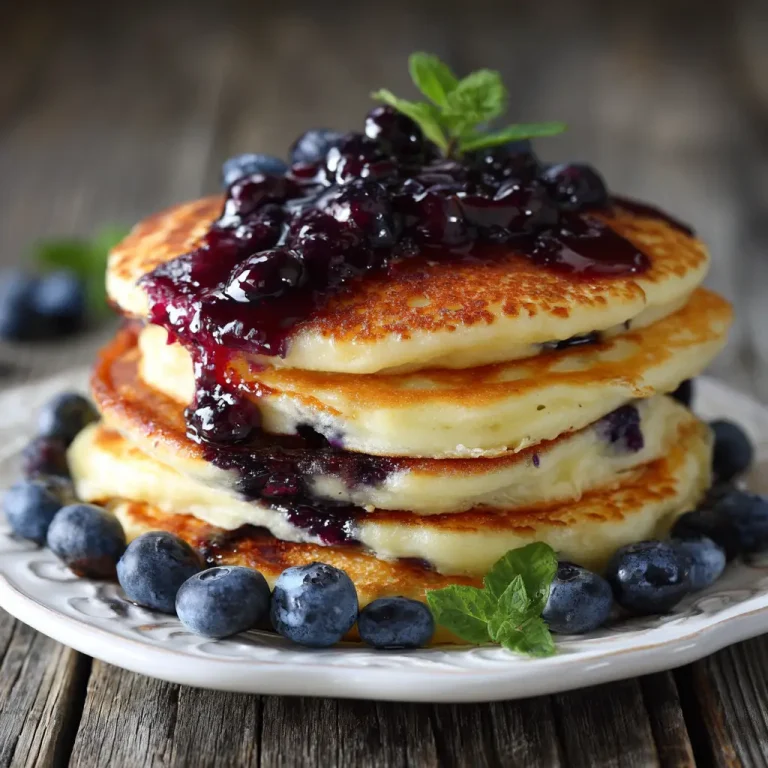
Try Fruit Infusions
Add fresh or frozen berries while the syrup simmers. Blueberries, raspberries, or even diced apples can infuse your syrup with natural fruitiness. Strain the fruit out for a smooth syrup, or leave it in for added texture.
Experiment with Sweeteners
For a healthier spin, substitute white sugar with coconut sugar, honey, or even agave nectar. Each brings its own flavor profile and sweetness level.
Make It Vegan
Skip the butter or replace it with a plant-based alternative. Everything else in the base recipe is already vegan-friendly.

Nutritional Information
Here’s a quick breakdown of the average nutritional value per tablespoon of the homemade syrup:
Keep in mind, portion control is key. While homemade syrup may be more wholesome than store-bought, it still contains sugar and calories, so enjoy it in moderation.
Serving Suggestions
This homemade syrup pairs beautifully with classic breakfast favorites. Here are a few ideas to inspire your next meal:
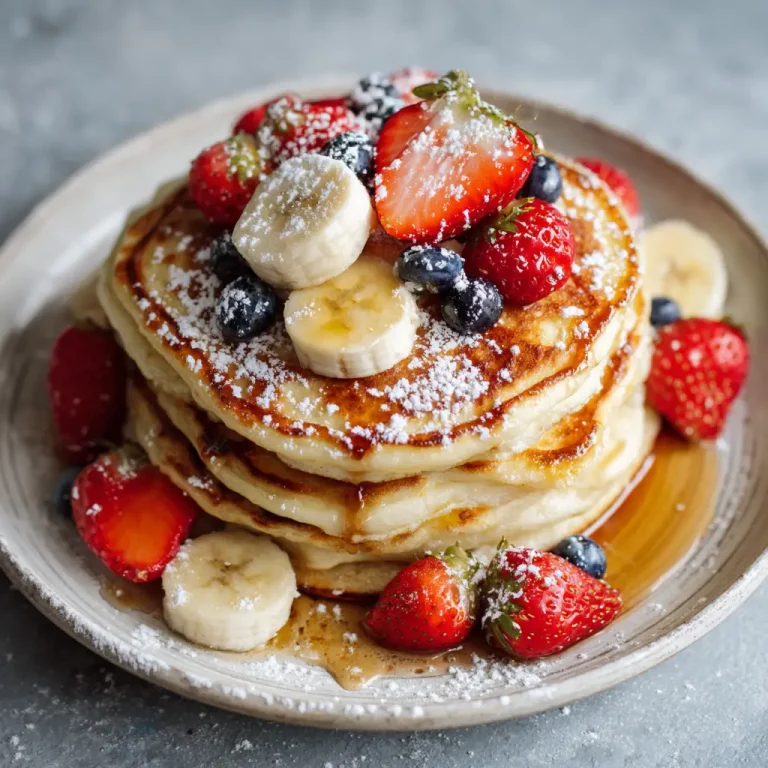
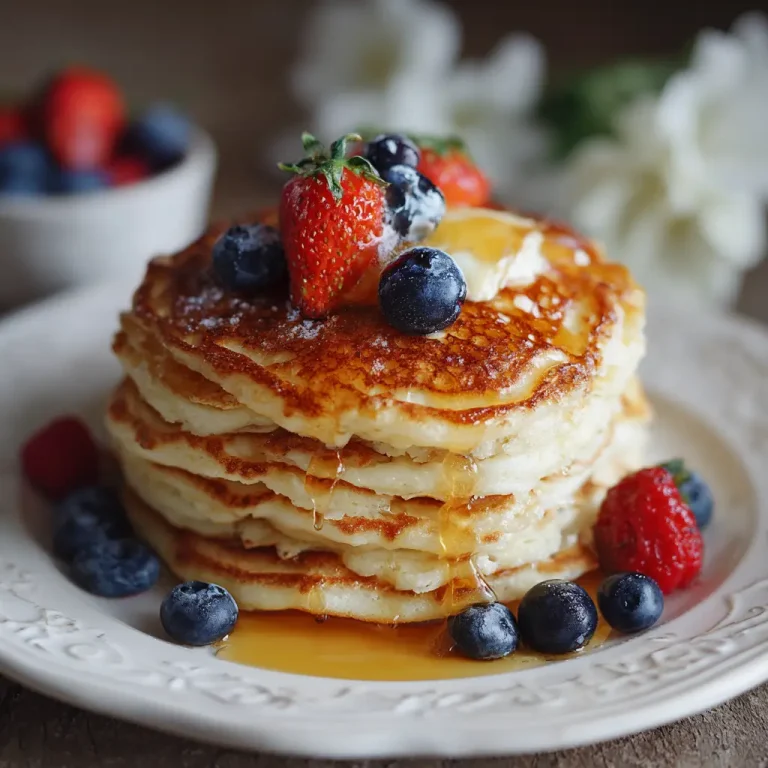
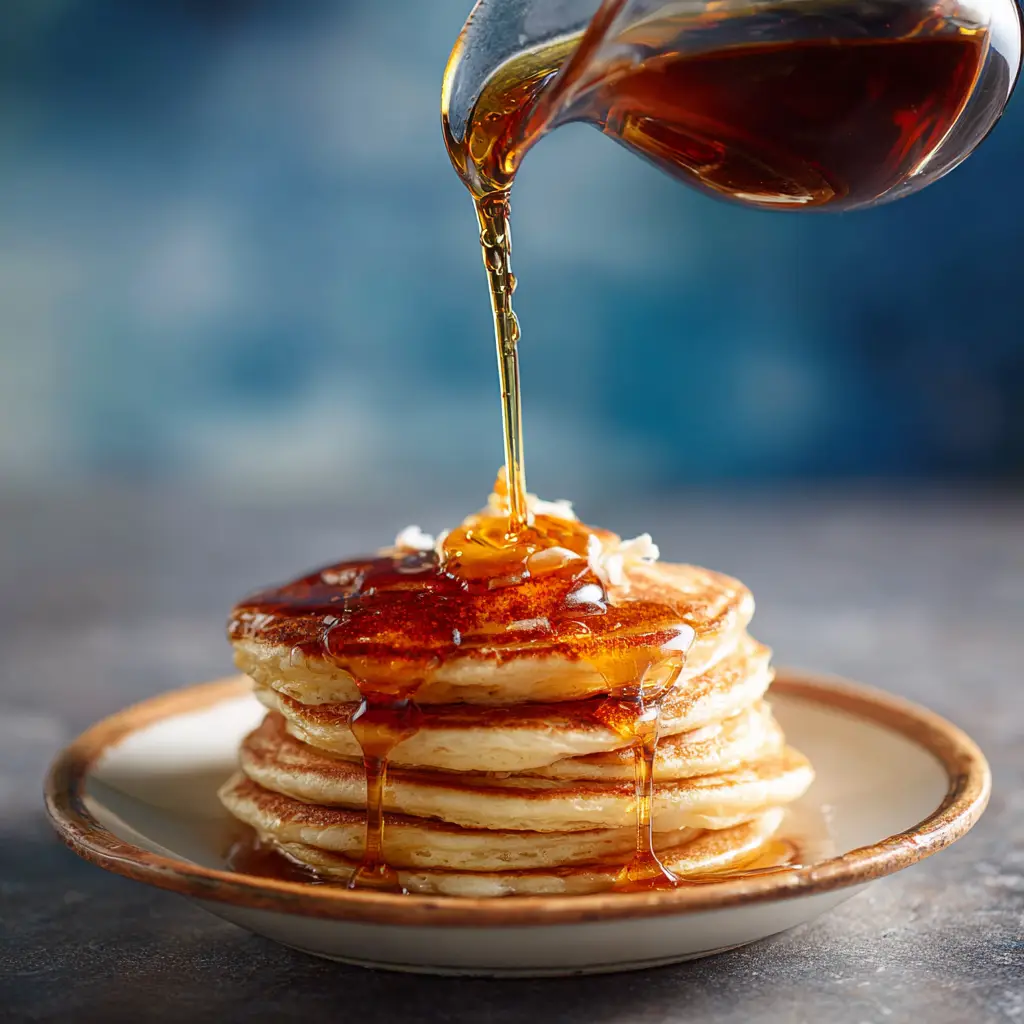
Classic Pancakes: Drizzle over a stack of hot, fluffy pancakes for a comforting start to your day.
Waffles: Whether crisp or chewy, waffles love a generous pour of this warm syrup.
French Toast: The buttery vanilla notes in this syrup blend wonderfully with cinnamon-laced French toast.
Oatmeal or Porridge: A spoonful can replace brown sugar or honey in your morning bowl.
Ice Cream or Yogurt: Use it as a dessert topping over vanilla ice cream, Greek yogurt, or even frozen banana soft-serve.
Biscuits or Scones: Swap out jam and try warm syrup on freshly baked biscuits for a Southern-style twist.
Homemade Syrup for Pancakes: Easy, Delicious, and Made from Scratch
Course: Blog5
servings10
minutes15
minutes~76 kcal
kcalIngredients
1 cup granulated sugar
1 cup brown sugar
1 cup water
1 teaspoon vanilla extract
2 tablespoons butter (optional, for richer flavor)
A pinch of salt
Directions
- In a medium saucepan, combine granulated sugar, brown sugar, and water. Stir well to mix evenly.
- Heat the mixture over medium heat. Bring it to a gentle boil, stirring occasionally to prevent sticking or burning.
- Once it starts to bubble, reduce the heat to low. Let it simmer for 5 to 7 minutes, or until it slightly thickens.
- Remove from heat. Stir in the vanilla extract, salt, and butter if using. Mix until smooth and fully combined.
Recipe Video
Notes
- For a maple-style flavor, add ½ teaspoon of maple extract along with the vanilla. You can also customize the syrup with cinnamon, nutmeg, or fruit infusions. If it thickens too much after cooling, stir in a small amount of warm water to loosen the consistency.
FAQs
Can I make syrup without brown sugar?
Yes, you can use only white sugar, but brown sugar adds a depth of flavor and slight molasses note that makes the syrup more interesting.
Why is my syrup too thin or too thick?
Syrup thickens as it cools. If it’s too thin, simmer it a little longer next time. Too thick? Stir in a little hot water to loosen it.
How long does homemade syrup last?
When stored in a sealed container in the fridge, it can last up to four weeks. Always check for signs of spoilage like mold or an off smell.
Can I use honey instead of sugar?
Yes, but the flavor and consistency will change. Honey tends to be sweeter and less thick than cooked syrup, so start with less and adjust to taste.
What’s the best way to reheat it?
Microwave it in short bursts (10 to 15 seconds), or heat it gently on the stove with a splash of water.
Is this syrup gluten-free?
Yes, as long as you use gluten-free vanilla extract and ensure no cross-contamination, it’s safe for those avoiding gluten.
Conclusion
Homemade pancake syrup brings more than just sweetness to your breakfast table. It adds a touch of comfort, a sense of control over your ingredients, and the freedom to get creative in your kitchen. Whether you stick to the classic version or experiment with flavors, you’ll notice the difference in taste and texture right away. It’s a simple addition that transforms everyday meals into something special. Once you’ve tried making your own, you might never go back to store-bought.