Easy Cake Pops How to Make: Easy Step-by-Step Recipe for Perfect Homemade Cake Pops
Introduction
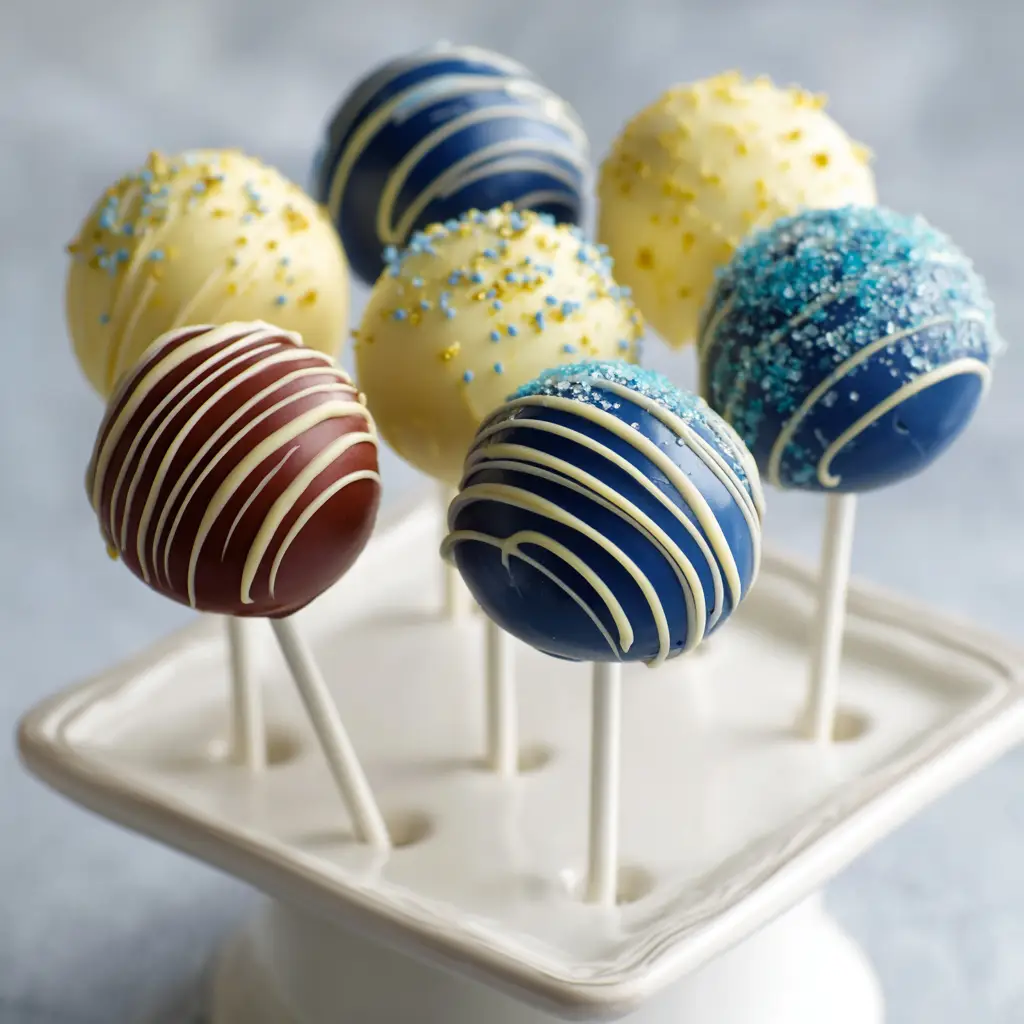
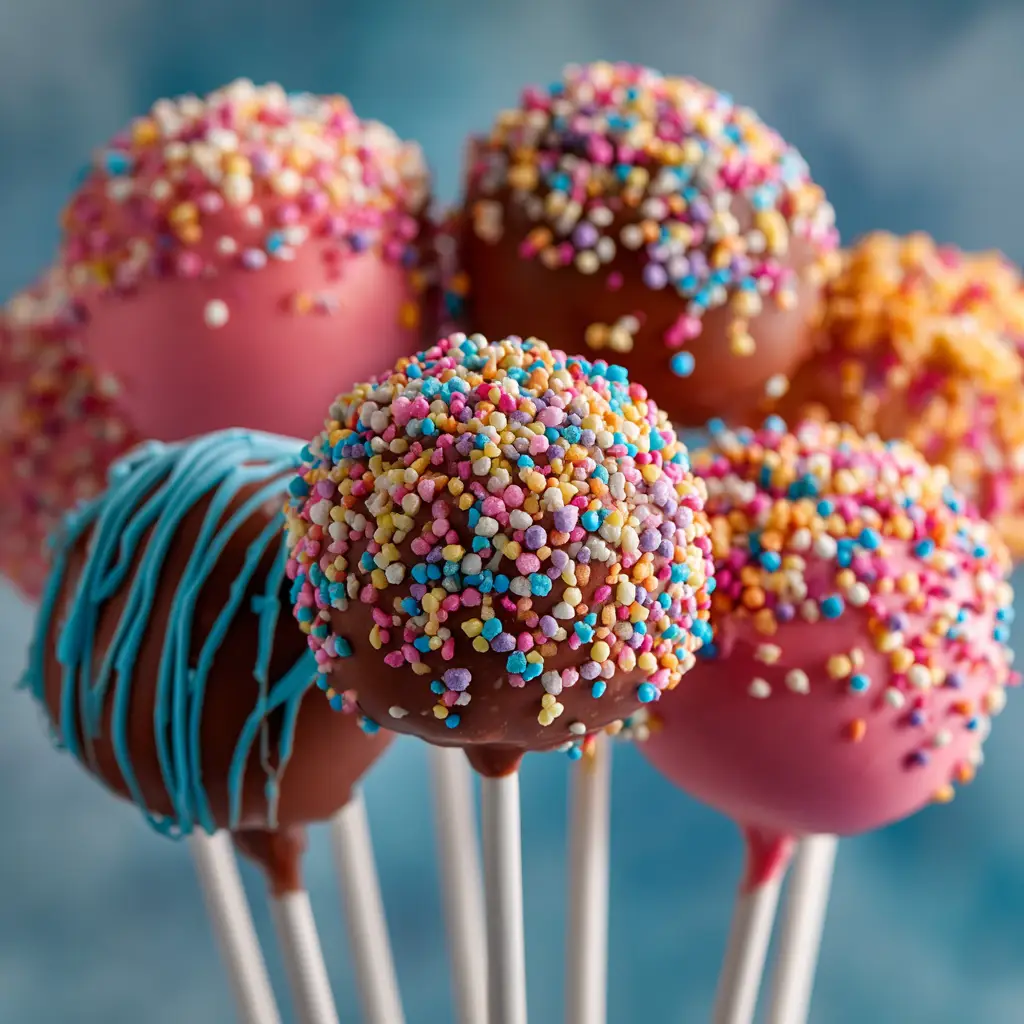
Cake pops are essentially crumbled cake mixed with frosting and shaped into small balls that sit on sticks, similar to lollipops. Once dipped in melted chocolate or candy coating, they become a perfect combination of moist cake inside and smooth coating outside. The result is a dessert that melts in your mouth while offering a delightful crunch on the surface.
Ingredients Needed
To make perfect cake pops, you do not need any fancy ingredients. Most of what you need might already be in your pantry. Below is a complete list of ingredients along with their approximate calorie content per serving.
| Ingredient | Quantity | Calories |
|---|---|---|
| Baked cake (any flavor) | 1 box or 9-inch round cake | 1600 |
| Frosting (buttercream or cream cheese) | 1 cup | 1400 |
| Candy melts or white chocolate | 2 cups | 1100 |
| Lollipop sticks | 20 pieces | 0 |
| Sprinkles or toppings | ½ cup | 200 |
| Vegetable oil (for melting chocolate) | 1 tablespoon | 120 |
Note: Calorie counts are approximate and can vary depending on the brand and ingredients used.
A boxed cake mix works perfectly for beginners, but homemade cake adds a personal touch. You can use chocolate, vanilla, red velvet, or any flavor you love.
Step-by-Step Cooking Instructions
1. Bake the Cake
Start by baking your cake. Follow the instructions on the box if you are using a mix, or use your favorite homemade cake recipe. Once baked, allow the cake to cool completely. This step is important because warm cake can make the mixture too mushy later on.
2. Crumble the Cake
After cooling, break the cake into small pieces. You can use your hands or a food processor for a fine texture. The goal is to have a soft crumb consistency without large chunks. The finer the crumbs, the smoother your cake pops will look.
3. Add the Frosting
Spoon in a bit of frosting and mix it with the cake crumbs. Start with a small amount and add more only if needed. You want a dough-like consistency that holds its shape when rolled into balls. Too much frosting can make the cake pops too sticky or dense.
4. Shape the Cake Balls
Using your hands or a small scoop, form small balls from the mixture. Aim for one-inch round balls so they are easy to eat and balance well on the sticks. Place them on a tray lined with parchment paper. Once all the balls are shaped, refrigerate them for about 30 minutes or freeze for 10 minutes to help them firm up.
5. Insert the Sticks
Melt a small amount of chocolate or candy coating. Dip the end of each stick into the melted chocolate and insert it halfway into a cake ball. This helps secure the stick once the chocolate hardens. Refrigerate again for another 15 minutes before dipping.
6. Melt the Chocolate
Melt your candy coating or chocolate in a microwave-safe bowl, heating in short intervals and stirring frequently. Add a teaspoon of vegetable oil if the chocolate seems too thick. The consistency should be smooth and thin enough for dipping.
7. Dip the Cake Pops
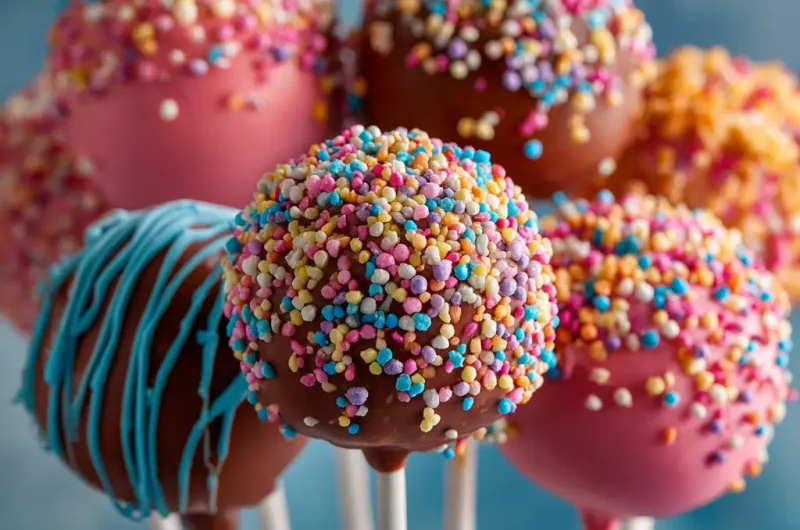
Hold each pop by the stick and dip it fully into the melted chocolate. Gently tap off any excess coating. If you want to add sprinkles, nuts, or decorative sugar, do so before the coating hardens. Place the finished pops upright in a foam block or a cake pop stand to dry completely.
8. Let Them Set
Allow your cake pops to set at room temperature or in the refrigerator until the coating is firm. Once hardened, they are ready to enjoy or package for gifting.
Tips for Customizing the Recipe
Cake pops are a canvas for creativity. Once you know the basic method, the possibilities become endless. Here are some expert tips to help you take your cake pops to the next level:
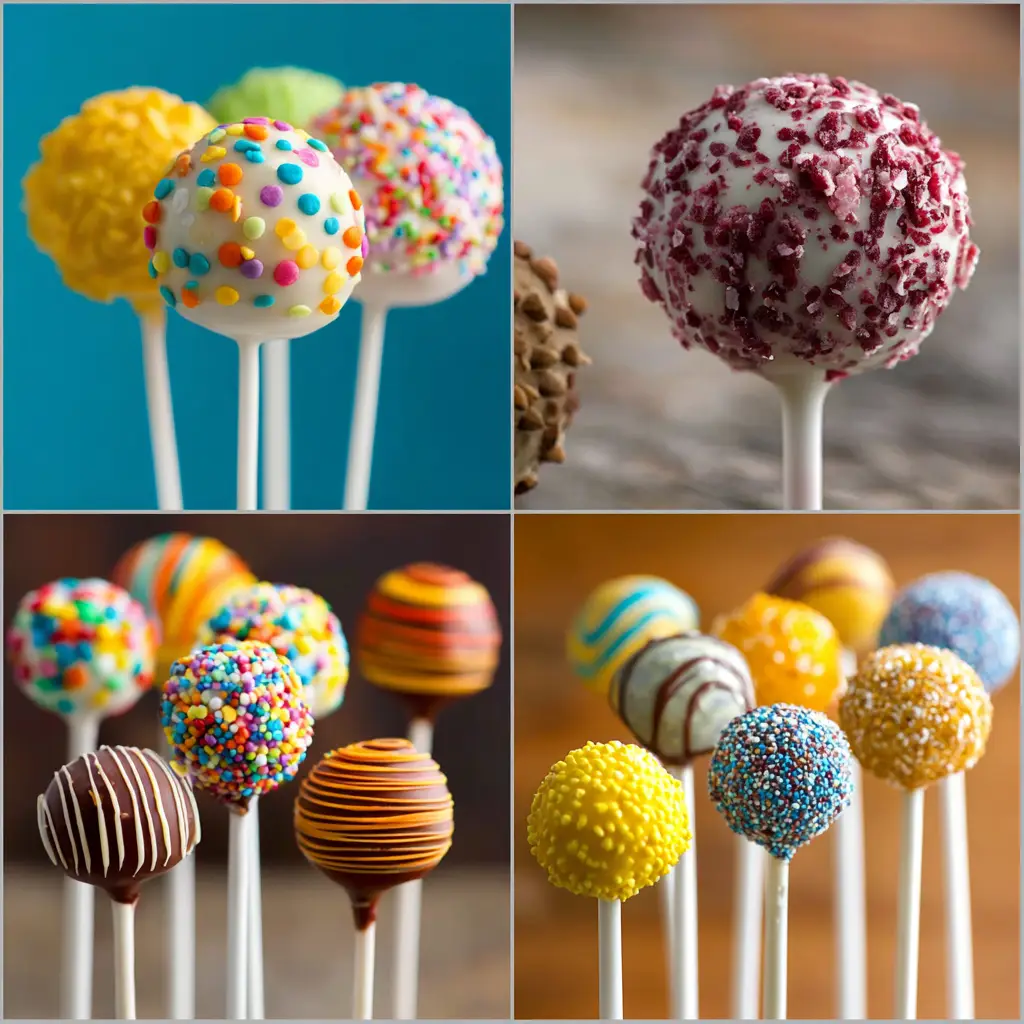
- Flavor Variations: Try different cake and frosting combinations like red velvet with cream cheese, chocolate with peanut butter, or lemon with vanilla.
- Colorful Coatings: Use colored candy melts or tinted white chocolate for a vibrant look that matches any theme.
- Decorative Details: Drizzle melted chocolate over the pops, add edible glitter, or use themed sprinkles for special occasions.
- Fun Fillings: Add a surprise inside such as caramel or Nutella before shaping the cake balls.
- Diet-Friendly Options: Swap traditional ingredients with gluten-free cake mix or low-sugar frosting for a healthier twist.
The beauty of cake pops lies in their flexibility. Whether you are making them for a children’s party, a wedding dessert table, or just to satisfy a sweet craving, you can design them to fit any mood or celebration.
Nutritional Information
Each cake pop typically contains around 150 to 200 calories, depending on size and ingredients. Below is a rough nutritional breakdown per serving:
| Nutrient | Amount per Cake Pop |
|---|---|
| Calories | 180 |
| Carbohydrates | 22 g |
| Protein | 2 g |
| Fat | 8 g |
| Sugar | 16 g |
| Sodium | 90 mg |
While cake pops are not a low-calorie snack, they are perfect for portion control since each one delivers a satisfying sweetness in just a few bites.
Serving Suggestions
Cake pops make beautiful dessert displays when arranged on a stand or bouquet-style. They can be served at birthday parties, weddings, baby showers, or even casual get-togethers. For holidays, decorate them with seasonal colors like red and green for Christmas or pastel shades for Easter.
If you are hosting a themed event, match the colors of your cake pops to your decorations. They also make excellent edible gifts. Simply wrap each pop in clear plastic and tie with a ribbon for a polished finish. Store them in an airtight container in the refrigerator for up to one week or freeze them for longer storage.
Cake Pops How to Make: Easy Step-by-Step Recipe for Perfect Homemade Cake Pops
Course: Blog20
servings25
minutes30
minutes180
kcalIngredients
1 box of baked cake (any flavor, about 9-inch round)
1 cup frosting (buttercream or cream cheese)
2 cups candy melts or white chocolate
1 tablespoon vegetable oil (optional, for melting chocolate)
½ cup sprinkles or toppings of choice
20 lollipop sticks
Directions
- Bake the Cake
- Prepare your cake according to the package or homemade recipe. Once baked, let it cool completely before moving on to the next step.
- Crumble the Cake
- Break the cooled cake into fine crumbs using your hands or a food processor. Make sure there are no large chunks.
- Mix with Frosting
- Add frosting gradually to the crumbs and mix until it forms a dough-like texture that holds together easily when rolled.
- Shape the Cake Balls
- Roll small portions of the mixture into one-inch balls. Place them on a tray lined with parchment paper and refrigerate for about 30 minutes to firm up.
Notes
- For best results, make sure the cake balls are cool but not frozen before dipping. If they are too cold, the chocolate coating may crack. You can experiment with different cake and frosting combinations, such as chocolate with peanut butter frosting or vanilla with lemon cream. Cake pops store well in an airtight container for up to one week in the refrigerator.
FAQs
Q1: Can I make cake pops without frosting?
Yes, you can. Some bakers prefer to use cream cheese or melted chocolate instead of frosting to bind the crumbs together.
Q2: Why do my cake pops crack?
Cracks often happen when the cake balls are too cold and the melted coating is too hot. Let the balls sit for a few minutes before dipping.
Q3: Can I make cake pops ahead of time?
Definitely. You can prepare the cake balls a day in advance and store them in the refrigerator before dipping.
Q4: What is the best way to store cake pops?
Keep them in an airtight container at room temperature for up to three days or refrigerate for longer freshness.
Q5: How can I make vegan cake pops?
Use dairy-free frosting, plant-based cake mix, and vegan chocolate to make completely vegan cake pops.
Conclusion
Creating homemade cake pops is both fun and rewarding. Each step, from baking the cake to dipping the pops in chocolate, adds a touch of creativity and joy. The combination of moist cake and smooth coating makes them irresistible to anyone who tries them.