Cheesecake Bars Recipe – Easy, Creamy, and Perfect for Any Occasion
Introduction
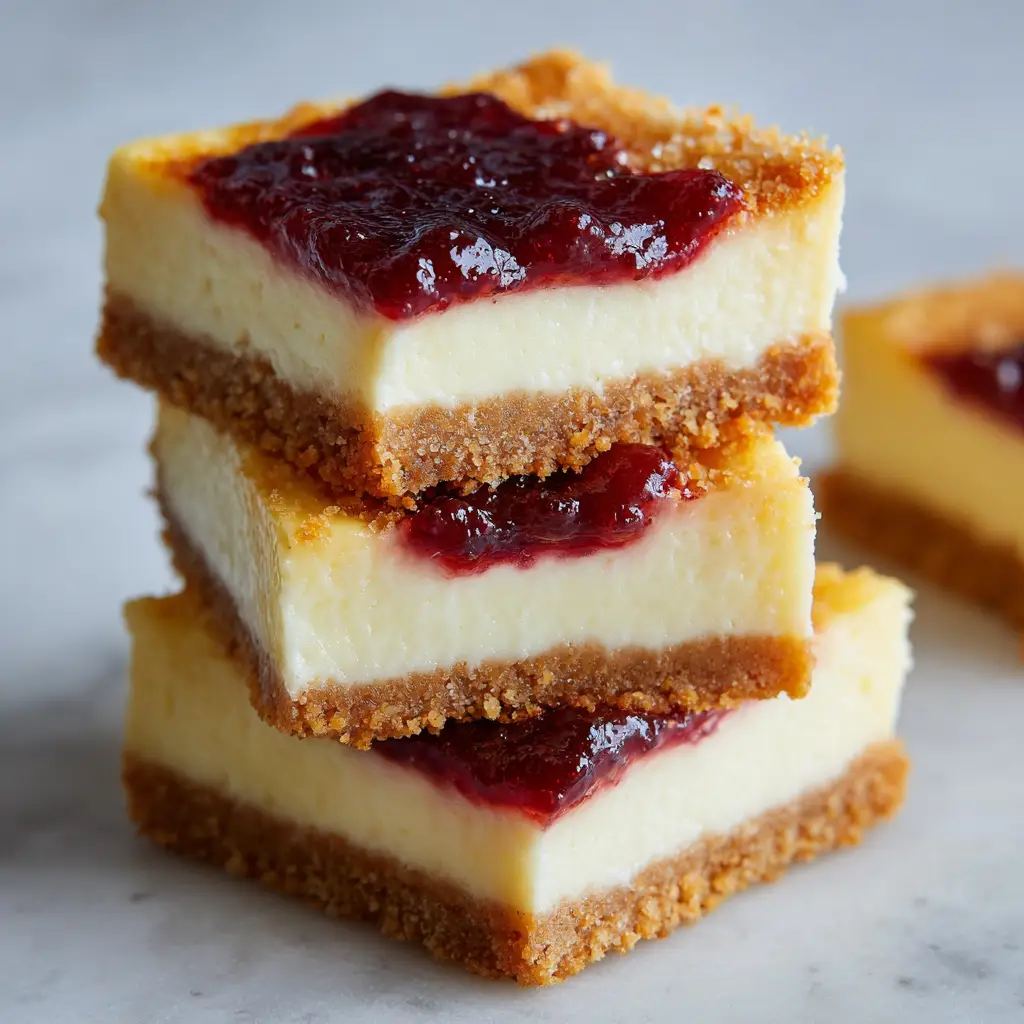
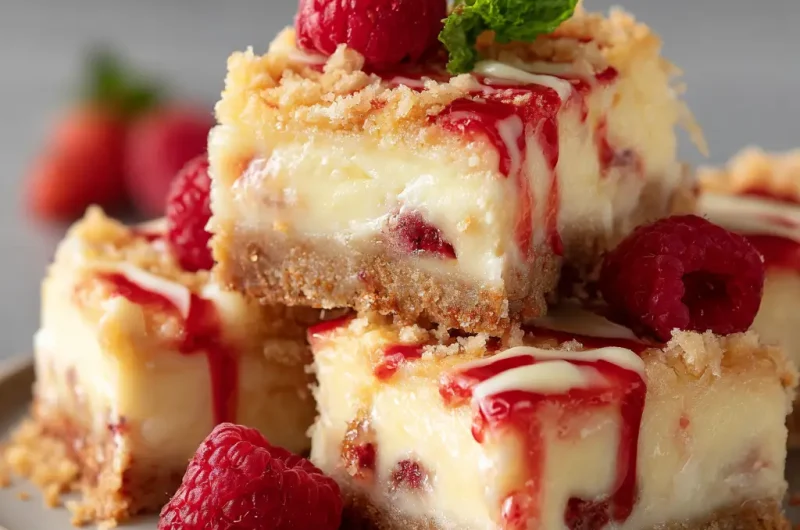
Imagine biting into something silky smooth with a tender crumb beneath your teeth that gives way to sweet tanginess melting gently on your tongue. That something is cheesecake bars: compact, rich, and perfect anytime dessert. Baking cheesecake often seems like a chore but these bars simplify the process while delivering all of the flavor of a full cheesecake in bite sized form. Anyone with modest baking skills can pull this off. Oven times are manageable. Ingredients are simple. You do not need special molds or tools. These bars travel well too, so they make superb treats for picnics, potlucks, or afternoon tea. Flavor combinations ripple with possibility as you swap toppings or add mix‑ins. Let us dive into what you need, how to craft these dessert bars, ways to make them your own, and what to expect in terms of nutrition and serving ideas.
Ingredients Needed
Here is what you will need for basic cheesecake bars. Feel free to upgrade or adjust as you like. The calorie counts are approximate and per ingredient portion used for the full recipe (serving about 12 bars unless otherwise noted).
| Ingredient | Amount | Estimated Calories for Whole Recipe |
|---|---|---|
| Cream cheese, full fat | 16 ounces (2 blocks) | 1600 kcal |
| Granulated sugar | ¾ cup | 580 kcal |
| Sour cream | ½ cup | 220 kcal |
| Vanilla extract | 1 teaspoon | 12 kcal |
| Eggs | 2 large | 140 kcal |
| Heavy cream or whipping cream | 2 tablespoons | 100 kcal |
| Graham cracker crumbs | 1 ½ cups | 630 kcal |
| Unsalted butter, melted | 5 tablespoons | 500 kcal |
| Salt (optional) | ¼ teaspoon | negligible |
| Lemon zest (optional) | 1 teaspoon | negligible |
Total approximate calories for the entire batch: 4782 kcal
Estimated calories per bar (when cutting into 12 pieces): around 400‑420 kcal
Step‑by‑Step Cooking Instructions
- Preheat and prepare the pan
Preheat oven to 325°F (about 163°C). Grease or line a 9×13‑inch baking pan with parchment paper leaving an overhang so you can lift bars out easily later. - Make the crust
Combine graham cracker crumbs with melted butter in a mixing bowl. Press firmly and evenly into the bottom of the prepared pan. Use the bottom of a measuring cup or glass to compact the crust so it holds together well. - Bake crust briefly
Bake crust alone for about 10 minutes. Let it set so it does not become soggy under the filling.Pair this meal with Gluten Free Dairy Free Dessert_ for a complete experience. - Prepare cheesecake filling
In a large bowl let cream cheese sit at room temperature until softened. Beat cream cheese with sugar until smooth and slack. Scrape sides of bowl often to avoid lumps. Add sour cream and vanilla extract and mix until combined. Beat in eggs one at a time, mixing after each until just blended. Avoid over‑mixing. Fold in heavy cream or whipping cream for extra creaminess. - Pour filling onto crust
Pour the smooth filling mixture over the baked crust. Tap the pan lightly on the counter to release air bubbles. - Bake the bars
Bake at 325°F (163°C) for about 35‑40 minutes. Center should be slightly jiggly when you shake the pan gently. Edges will be set. Do not overbake as residual heat will continue cooking the center. - Cool and chill
Remove from oven and let the bars cool at room temperature for at least 1 hour. Then cover loosely with plastic wrap or foil and refrigerate for at least 4 hours, preferably overnight. Chilling ensures clean slices and full flavor. - Cut and serve
Use the parchment overhang to lift the chilled slab from the pan. Using a sharp knife run under hot water then dry and slice into bars. Clean the knife between cuts for neat pieces.
Tips for Customizing the Recipe
- Change the crust type by swapping graham crackers for digestive biscuits or Oreo cookies (just remove the cream filling). Use chocolate crumbs for a mocha or chocolate cheesecake bar.
- Infuse flavor by adding citrus zest such as lemon or orange. A teaspoon of lemon juice brightens the richness.
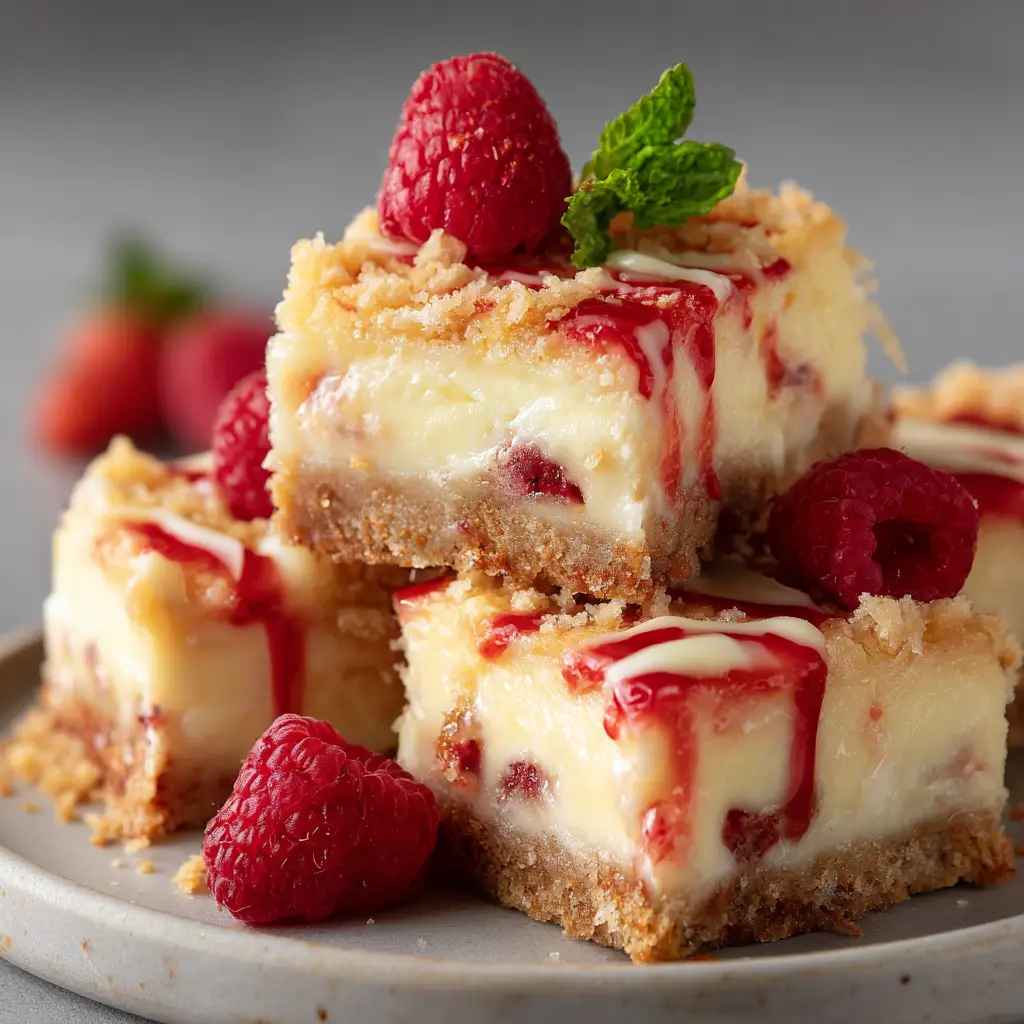
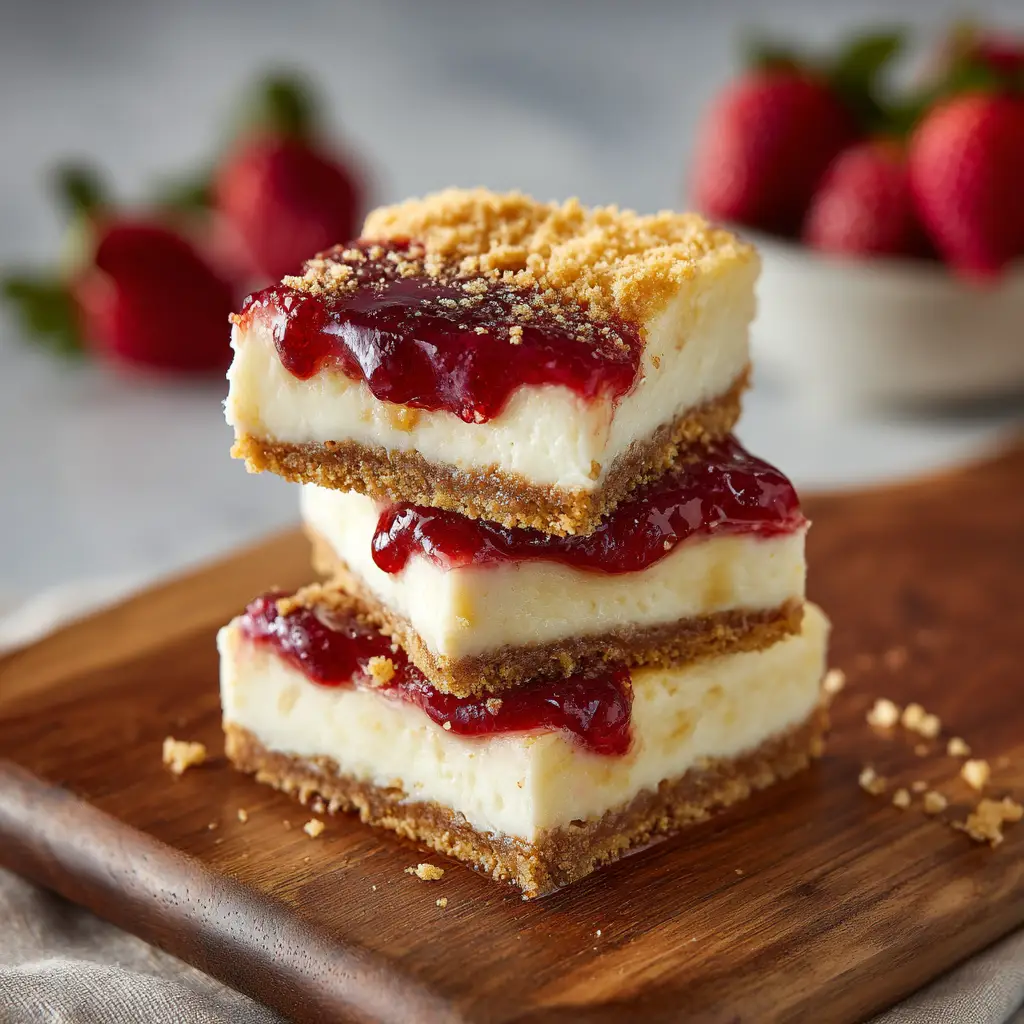
- Swirl in fruit purée (raspberry, strawberry, blueberry) before baking. Drop spoonfuls of purée into the filling then use a skewer to swirl.
- Mix in chopped chocolate or chips for texture contrast. Dark chocolate, white chocolate or even caramel chips work.
- Top bars after baking with fresh fruit, ganache, salted caramel, chopped nuts or cookie crumble. You can also dust with cocoa powder or cinnamon sugar.
- For lighter version use lower fat cream cheese or replace some heavy cream with whole milk. Be cautious because texture changes: lighter version may not be quite as rich or creamy.
- Add a thin layer of sourdough or tangy yogurt to give a different character.
- Try mini muffin tin version to make bite sized cheesecake bars: reduce baking time accordingly (approx half time or until around 20 minutes depending on size).
Nutritional Information
Per bar estimates assume recipe cut into 12 pieces. These values are approximate and depend on specific brands and substitutions used.
| Nutrient | Amount per Bar |
|---|---|
| Calories | ~400‑420 kcal |
| Total Fat | ~28‑30 grams |
| Saturated Fat | ~16‑18 grams |
| Cholesterol | ~120‑140 mg |
| Sodium | ~200‑250 mg |
| Total Carbohydrates | ~33‑35 grams |
| Dietary Fiber | ~1 gram |
| Sugars | ~23‑25 grams |
| Protein | ~6‑8 grams |
When you custom‑modify the recipe by using low fat cream cheese or less sugar those values go down. Using richer toppings like ganache or chocolate increases fat and calories.
Serving Suggestions
Cheesecake Bars Recipe – Easy, Creamy, and Perfect for Any Occasion
Course: Blog12
servings15
minutes40
minutes~410 kcal
kcalIngredients
1 ½ cups graham cracker crumbs
5 tablespoons unsalted butter, melted
1 tablespoon granulated sugar (optional)
For the Cheesecake Filling:
16 oz (2 blocks) full-fat cream cheese, softened
¾ cup granulated sugar
½ cup sour cream
2 large eggs
2 tablespoons heavy cream
Directions
- Preheat oven to 325°F (163°C). Line a 9×13-inch baking pan with parchment paper, leaving an overhang on the sides.
- Prepare the crust by mixing graham cracker crumbs with melted butter (and optional sugar). Press the mixture firmly into the bottom of the pan. Use the bottom of a flat glass or measuring cup to compact evenly.
- Bake the crust for 10 minutes, then let it cool while you make the filling.
- Make the filling: In a large bowl, beat the cream cheese and sugar until smooth and creamy. Scrape the sides of the bowl often to avoid lumps.
Recipe Video
Notes
- For best results, use room temperature cream cheese to avoid lumps in the filling.
Do not overmix once the eggs are added; this helps prevent cracks.
Bars can be stored in the refrigerator for up to 5 days or frozen for up to 1 month.
FAQs
How do I prevent cracks on top of cheesecake bars
Avoid over‑mixing the filling once eggs go in. Mix gently and only until combined. Also bake at moderate temperature and avoid sudden temperature changes. After baking allow gradual cooling: keep in oven with door slightly ajar for few minutes before bringing to room temperature.
Can I bake these bars in a water bath
While water baths are common for classic cheesecake cakes, for bars they are not necessary. The thinner filling bakes more evenly without the moisture‑trap of water bath. But you may place a pan of water on rack below to help maintain gentle humidity if your oven runs hot.
How long can cheesecake bars stay safely stored
Refrigerated properly they last about 4 to 5 days. Use airtight container. Freeze if needed for longer storage: wrap tightly in plastic and foil then freeze up to one month. Thaw in fridge before serving.
Can I make cheesecake bars without gluten
Yes. Use gluten‑free cookie or cracker crumbs for crust. Ensure any toppings used are gluten safe. The filling itself is naturally gluten free.
Conclusion
Making cheesecake bars means crafting something special for yourself or friends without overwhelming effort. Baking these gives you creamy richness, pleasing texture, and endless ways to adjust to taste. Each bite offers comfort and indulgence. Keep experimenting with flavors and toppings to find your favorite version. Serving them chilled, with fruit, or alongside a bold beverage elevates the experience. May your kitchen smell divine and every slice delight you.