Artisan Bread: The Heart of Homemade Baking
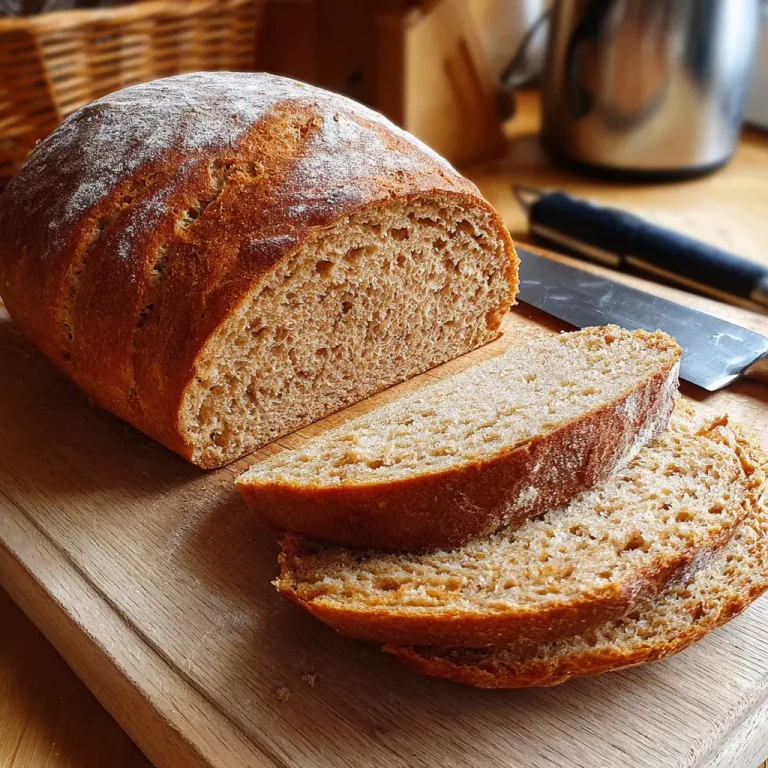
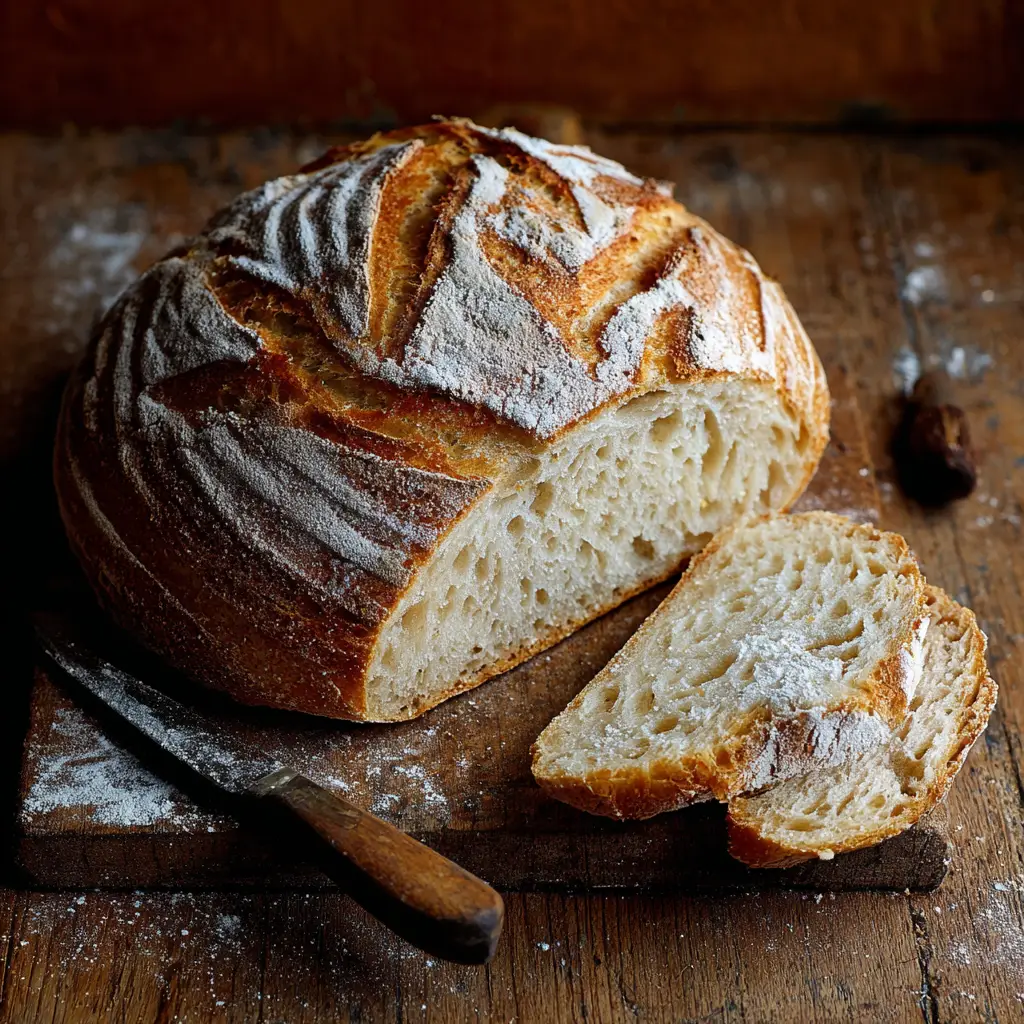
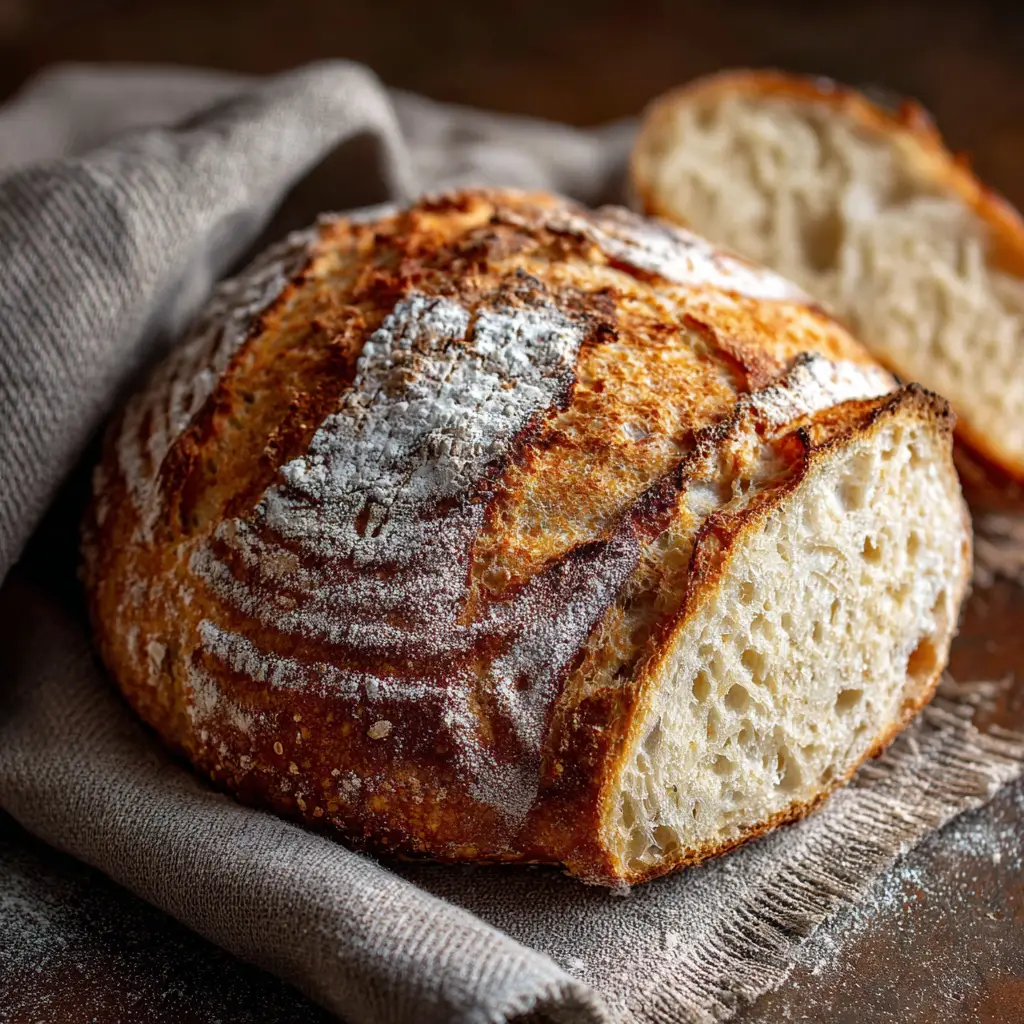
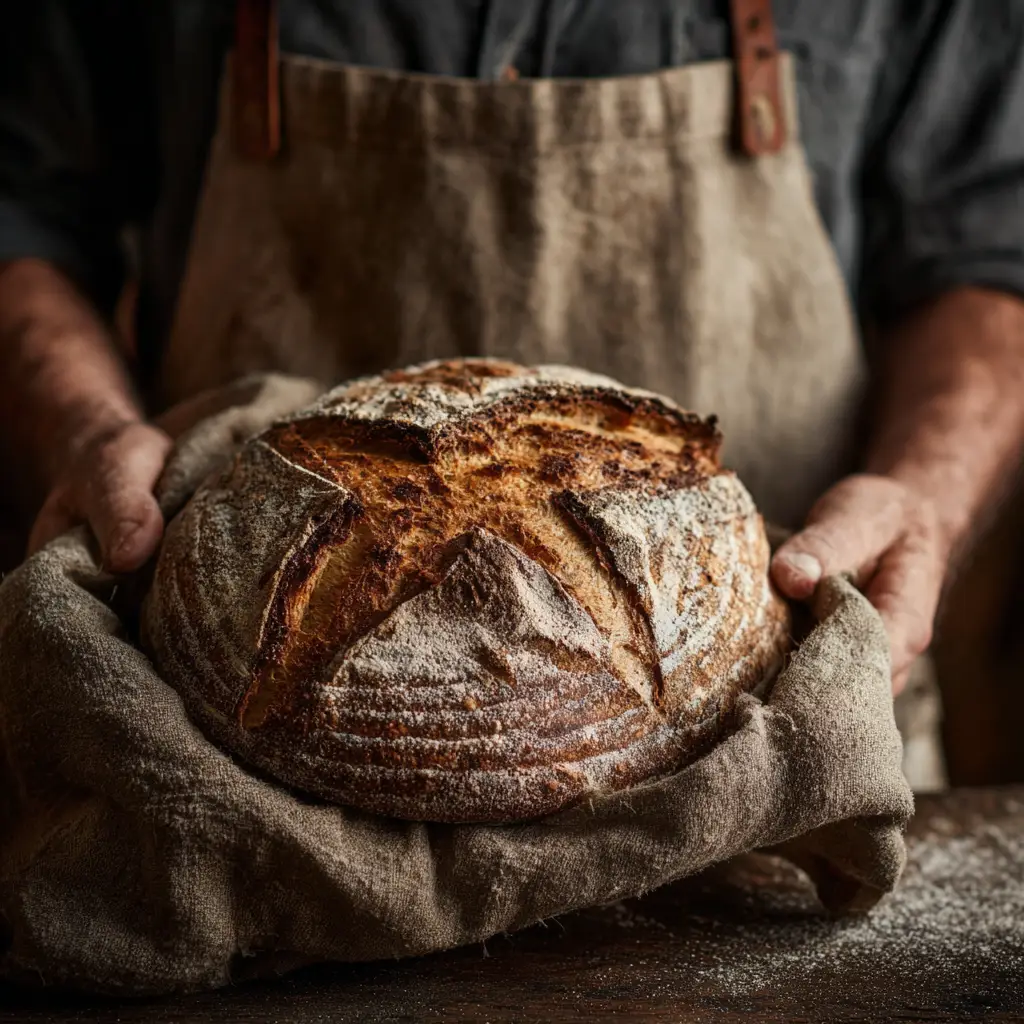
Few culinary experiences compare to the rich aroma of freshly baked artisan bread filling your kitchen. The crisp crackle of a golden crust, the soft and airy crumb inside, and the deep, developed flavor make artisan bread a favorite among bakers and bread lovers alike. It is more than just food—it is an experience. Creating it from scratch allows you to slow down, reconnect with traditional techniques, and enjoy the rewarding process of baking something truly special.
Artisan bread is not about speed. It is about patience, quality ingredients, and allowing time to develop the flavor and texture that machine-made loaves simply cannot match. Whether you are a beginner baker or someone who has been experimenting for years, learning how to make artisan bread at home can be one of the most satisfying kitchen adventures you will ever take.
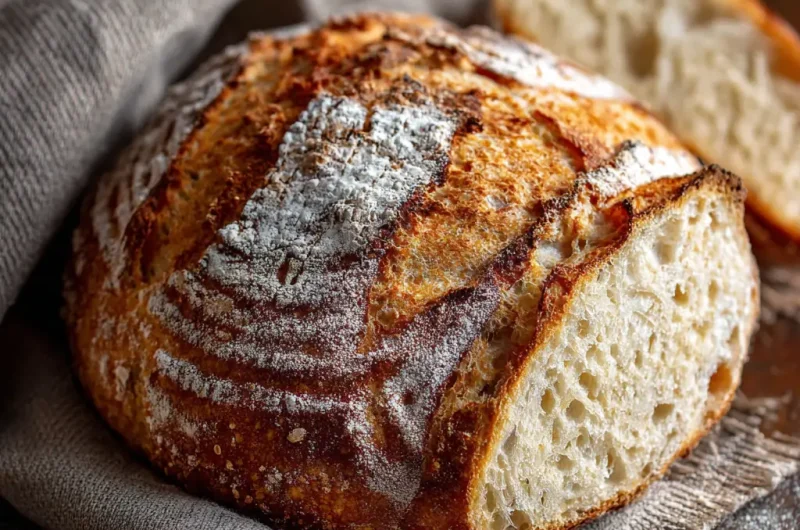
The beauty of this bread lies in its simplicity. With only a few ingredients, the dough transforms into a rustic, crusty loaf through time, care, and a few techniques that bring out the best in each element. The result is a loaf with a chewy interior, a blistered crust, and a flavor profile that can’t be found in store-bought varieties.
Let’s walk through how to make artisan bread from scratch, the essential ingredients you will need, step-by-step instructions, and tips to make it your own.
Ingredients Needed
Before diving into the baking process, make sure you gather all your ingredients. Artisan bread uses basic pantry staples, which makes it incredibly accessible. The magic happens in the method and timing rather than in the number of components.
Here is a detailed table showing the ingredients along with their approximate calorie counts per batch.
| Ingredient | Quantity | Calories |
|---|---|---|
| Bread Flour | 3 ½ cups (420g) | 1500 |
| Warm Water | 1 ½ cups (355ml) | 0 |
| Active Dry Yeast | 1 teaspoon | 5 |
| Salt | 2 teaspoons | 0 |
| Olive Oil (optional) | 1 tablespoon | 120 |
Total approximate calories per loaf: 1625
These values are based on standard ingredients and may vary depending on specific brands.
Step-by-Step Cooking Instructions
1. Activate the Yeast
Begin by dissolving the yeast in the warm water. Make sure the water is not too hot, ideally around 100 to 110 degrees Fahrenheit. Let it sit for about 10 minutes until it becomes frothy. This signals that the yeast is active and ready to work its magic.
2. Mix the Dough
In a large mixing bowl, combine the bread flour and salt. Slowly pour in the yeast mixture while stirring with a wooden spoon or silicone spatula. The dough should be shaggy, sticky, and just combined. Resist the urge to knead at this stage.
3. First Rise (Bulk Fermentation)
Cover the bowl with a damp towel or plastic wrap and let it sit at room temperature for 12 to 18 hours. Yes, it’s a long rise, but this is where the flavor develops. The dough will bubble and expand during this time.
4. Shape the Dough
Once the dough has doubled in size and looks airy, dust a clean surface with flour and gently scrape out the dough. Use floured hands to fold it over itself a few times, forming a round loaf. Do not knead it aggressively. This gentle shaping helps maintain the internal structure.
5. Second Rise
Place the shaped dough on parchment paper or a floured kitchen towel. Cover it loosely and let it rise again for 1 to 2 hours. It should puff up slightly, but not double in size.
6. Preheat the Oven
Preheat your oven to 450 degrees Fahrenheit. Place a Dutch oven or heavy pot with a lid inside to heat as well. This creates a steam environment that helps produce the signature crust.
7. Bake the Bread
Carefully remove the hot pot from the oven. Lift the dough using the parchment paper and gently lower it into the pot. Cover and bake for 30 minutes. Then remove the lid and bake for an additional 15 to 20 minutes until the crust is deeply golden.
8. Cool Before Slicing
Remove the bread from the pot and let it cool on a wire rack for at least 30 minutes. Cutting it too early can result in a gummy texture inside.
Tips for Customizing the Recipe
Artisan bread is a blank canvas for creativity. Once you master the base recipe, feel free to experiment with additional flavors and textures.
Try Adding Seeds or Nuts
Incorporate sunflower seeds, flaxseeds, or chopped walnuts for extra crunch and nutrition. Mix them in during the initial dough stage.
Use Whole Wheat or Rye Flour
Substitute part of the bread flour with whole wheat or rye for a more complex flavor and denser texture.
Add Herbs and Aromatics
Fresh rosemary, thyme, roasted garlic, or caramelized onions can elevate the taste significantly. Add them during the mix-in phase.
Play With Hydration
Higher water content can create a more open crumb structure. If you’re feeling adventurous, increase the water by a few tablespoons and observe how it changes the texture.
Nutritional Information
The following estimates are based on one loaf of artisan bread, cut into 12 slices:
- Calories per slice: Approximately 135
- Total Fat: 1.5g
- Saturated Fat: 0.2g
- Cholesterol: 0mg
- Sodium: 250mg
- Carbohydrates: 27g
- Dietary Fiber: 1g
- Sugars: 0g
- Protein: 4g
The bread is low in fat and contains no added sugars, making it a wholesome option for a variety of meals.
Serving Suggestions
Artisan bread is incredibly versatile and can be served in many delightful ways:
Breakfast Toast
Top with smashed avocado, a sprinkle of sea salt, and a drizzle of olive oil or lemon juice.
Soup Companion
Slice and toast it to serve alongside tomato bisque, French onion soup, or hearty lentil stew.
Sandwich Base
Use thick slices to create gourmet grilled cheese or roasted veggie sandwiches.
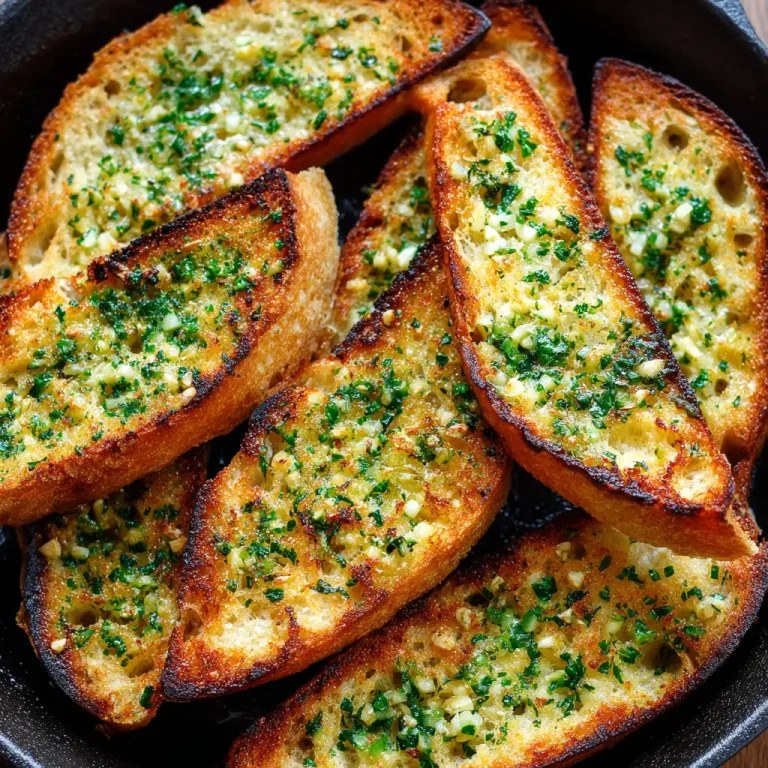
Bruschetta or Crostini
Grill slices and top with chopped tomatoes, basil, garlic, and a splash of balsamic vinegar for a light appetizer.
Rustic Bread Basket
Serve it fresh with a variety of dipping oils, balsamic glaze, or soft cheeses like brie or camembert.
Artisan Bread: The Heart of Homemade Baking
Course: Blog1 loaf (12 slices)
servings15
minutes45
minutes~135 kcal
kcalIngredients
3 ½ cups (420g) bread flour
1 ½ cups (355ml) warm water (around 100°F)
1 teaspoon active dry yeast
2 teaspoons salt
1 tablespoon olive oil (optional)
Extra flour for dusting
Directions
- Activate the Yeast
- In a large bowl, mix warm water and yeast. Let it sit for 10 minutes until it becomes foamy.
- Mix the Dough
- Add the bread flour and salt to the bowl. Mix with a wooden spoon or silicone spatula until a shaggy dough forms. Add olive oil if using. Do not knead.
- First Rise
- Cover the bowl with plastic wrap or a damp towel. Leave at room temperature for 12 to 18 hours. The dough should double in size and look bubbly.
- Shape the Dough
- Dust a clean surface with flour. Gently transfer the dough onto the surface. Fold it over itself 2 to 3 times to shape it into a round loaf.
- Second Rise
- Place the shaped dough on a piece of parchment paper or a floured kitchen towel. Cover and let rise for 1 to 2 hours until slightly puffy.
- Preheat the Oven
- Preheat your oven to 450°F (230°C). Place a Dutch oven or heavy pot with lid inside to heat for at least 30 minutes.
- Bake the Bread
- Carefully remove the hot pot from the oven. Transfer the dough with parchment paper into the pot. Cover and bake for 30 minutes. Remove the lid and bake for another 15 to 20 minutes until golden brown.
- Cool Before Slicing
- Let the bread cool on a wire rack for at least 30 minutes before slicing. This helps set the crumb and prevents it from becoming gummy.
Recipe Video
Notes
- For best results, use high-protein bread flour, which helps develop a chewy texture and better rise. Do not rush the rising time; the long fermentation is what gives artisan bread its deep, complex flavor and signature airy interior. If you live in a cold climate, place the dough near a warm spot or inside a turned-off oven with the light on.
Frequently Asked Questions (FAQs)
Q1: What is artisan bread?
Artisan bread is a type of bread made using traditional methods, simple ingredients, and long fermentation to develop flavor and texture. It typically has a thick crust and chewy interior.
Q2: How long does it take to make artisan bread?
From start to finish, artisan bread usually takes between 14 and 20 hours due to long rising times that enhance flavor and texture.
Q3: What ingredients are needed for artisan bread?
The basic ingredients include bread flour, water, active dry yeast, and salt. Some recipes may add olive oil or seeds for extra flavor.
Q4: Can I use whole wheat flour to make artisan bread?
Yes, substituting some bread flour with whole wheat or rye flour adds flavor and nutritional value, but it may affect the crumb and rising time.
Q5: Why is the dough sticky?
Artisan bread dough is naturally sticky due to high hydration levels. Avoid adding too much extra flour; instead, use floured hands for handling.
Q6: How do I get a crispy crust on artisan bread?
Baking the bread in a covered Dutch oven traps steam, which helps create a crispy and golden crust.
Q7: How should I store artisan bread?
Store at room temperature in a paper bag or bread box for up to two days. For longer storage, freeze sliced bread wrapped tightly in plastic wrap and foil.
Conclusion
Baking artisan bread at home is a deeply rewarding experience. It taps into centuries-old traditions and transforms humble ingredients into something rich with character and flavor. From the first rise to the final golden crust, each step allows you to slow down and savor the craft of bread making. Whether you stick to the classic recipe or explore creative variations, you’ll find that homemade artisan bread elevates every meal it touches.