No Knead Bread Dutch Oven Recipe for Crispy Artisan Style Loaf
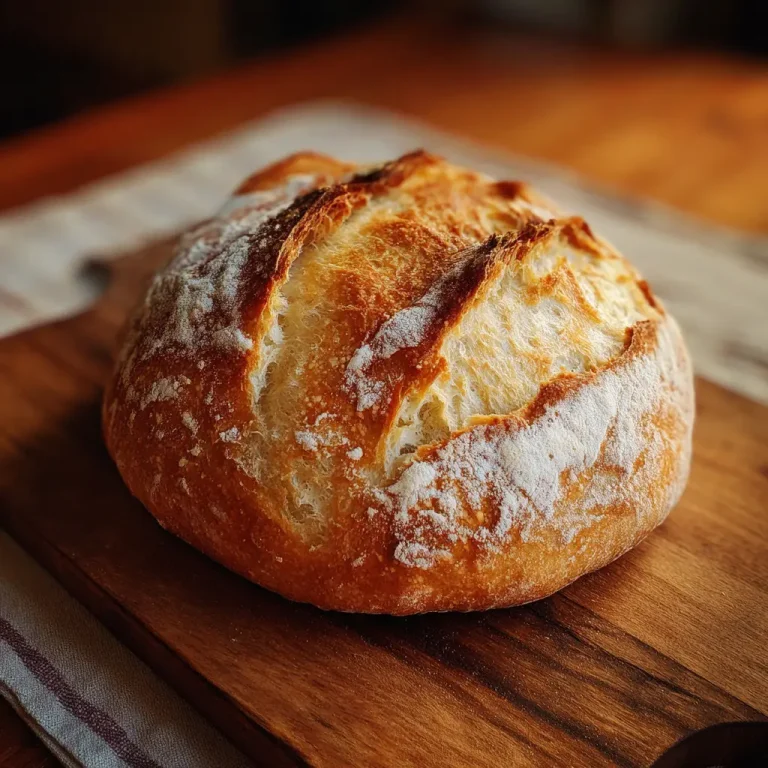
The aroma of freshly baked bread has a way of turning any house into a home. Warm, comforting, and deeply nostalgic, homemade bread speaks to something timeless in all of us. Many people assume that artisan bread demands years of experience, complicated techniques, and endless kneading. The truth tells a very different story. No knead bread baked in a Dutch oven has transformed home kitchens everywhere, making it possible for anyone to create bakery quality bread with minimal effort.
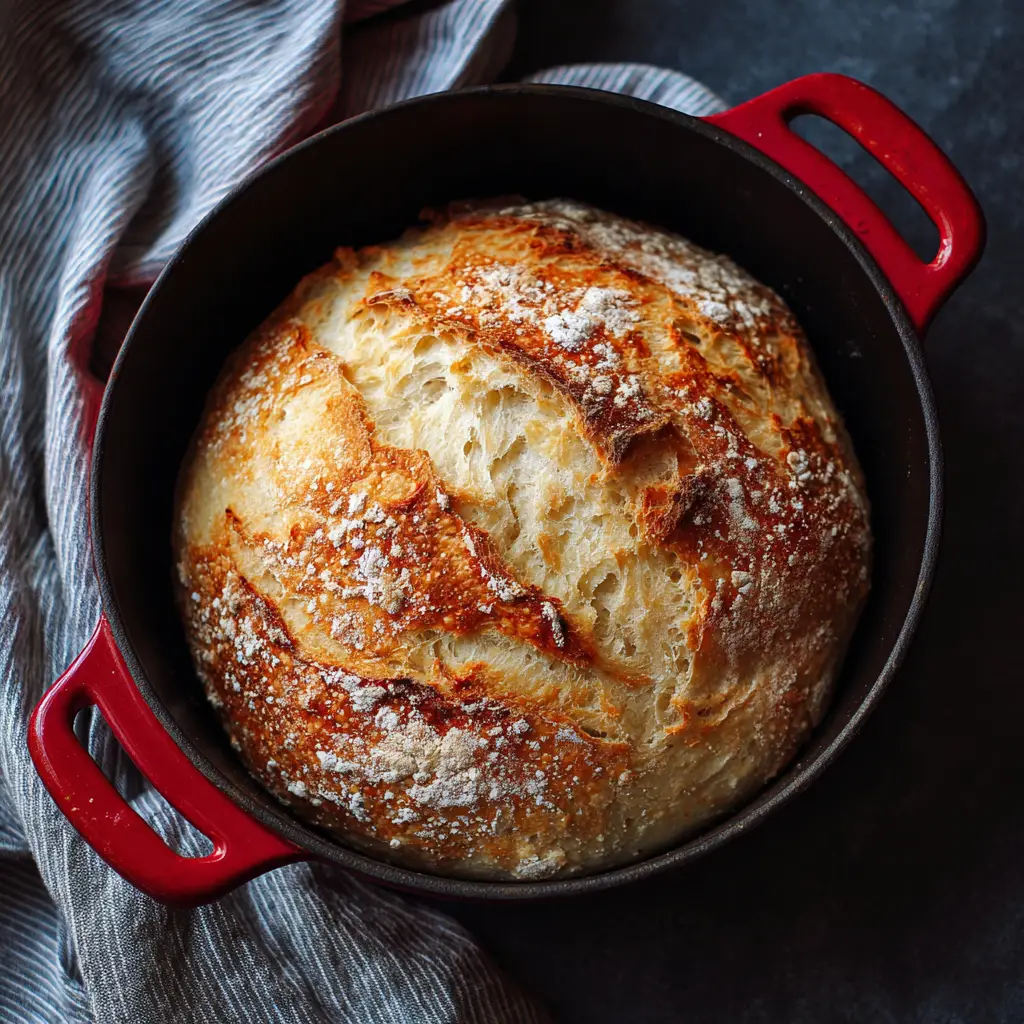
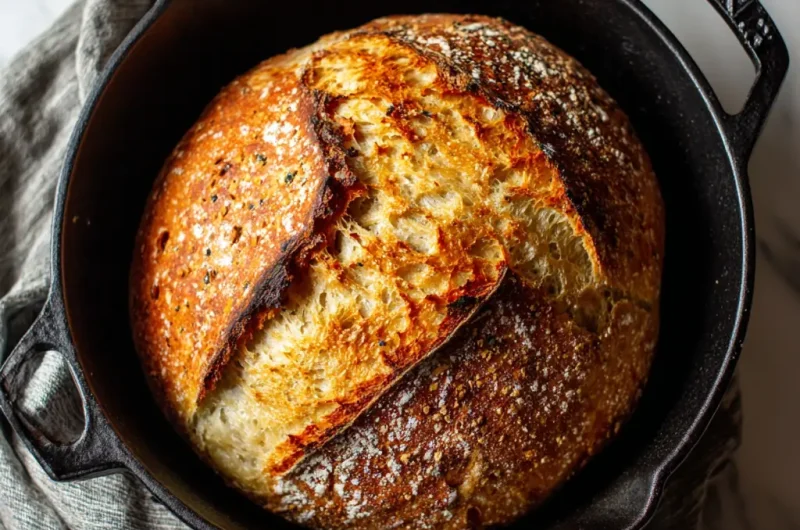
A Dutch oven creates the perfect environment for bread baking. Its heavy lid traps steam, which helps develop a beautifully crisp crust while keeping the inside tender and airy. That balance between crunchy exterior and soft interior is what defines great artisan bread. Achieving that texture without kneading feels almost magical, yet the science behind it is beautifully simple.
No knead bread relies on time instead of labor. A long fermentation allows gluten to develop naturally. The dough becomes stretchy and structured without hours of effort. The result is a rustic loaf with deep flavor and an open crumb that looks like it came straight from a professional bakery.
Home bakers love this method because it is forgiving. Beginners find confidence in it. Experienced cooks appreciate its simplicity. A handful of pantry staples turns into something extraordinary. Whether you are baking for your family, preparing for a dinner party, or simply craving fresh bread, no knead bread in a Dutch oven delivers every time.
Search interest in no knead bread Dutch oven recipes continues to grow, and for good reason. The method requires minimal equipment, little hands on time, and produces consistent results. Once you try it, store bought bread will never taste the same.
Ingredients Needed
Simple ingredients form the foundation of great bread. Quality matters, but expensive specialty products are not necessary. Basic pantry items work beautifully when handled with care.
| Ingredient | Quantity | Approximate Calories |
|---|---|---|
| All purpose flour | 3 cups | 1365 calories |
| Warm water | 1 and one half cups | 0 calories |
| Active dry yeast | 2 and one fourth teaspoons | 21 calories |
| Salt | 1 and one half teaspoons | 0 calories |
| Optional olive oil | 1 tablespoon | 119 calories |
Calorie counts represent the full recipe. Individual serving calories depend on slice size and total yield.
Flour provides structure. Water activates gluten formation. Yeast creates rise and flavor. Salt strengthens the dough and enhances taste. Olive oil adds subtle richness, though many classic recipes omit it entirely.

Step by Step Cooking Instructions
Start by combining flour, yeast, and salt in a large mixing bowl. Stir them together evenly. Pour warm water over the dry ingredients. Use a wooden spoon or clean hands to mix until a shaggy dough forms. The mixture will look rough and slightly sticky. That texture is perfect.
Cover the bowl tightly with plastic wrap or a clean kitchen towel. Let the dough rest at room temperature for twelve to eighteen hours. Time works quietly during this stage. Bubbles will form on the surface. The dough will double in size. A slightly sour aroma signals proper fermentation.
Lightly flour your work surface. Gently turn the dough out onto it. Avoid punching it down aggressively. Fold the dough over itself two or three times to shape it into a loose ball. Let it rest for about thirty minutes while you prepare the oven.
Place your Dutch oven with its lid inside the oven. Preheat to 450 degrees Fahrenheit. Heating the pot is essential. A hot surface creates immediate steam when the dough goes in, helping build that signature crust.
Carefully remove the hot Dutch oven using oven mitts. Place a piece of parchment paper inside if desired for easier handling. Gently lower the dough into the pot. Cover with the lid and return it to the oven.
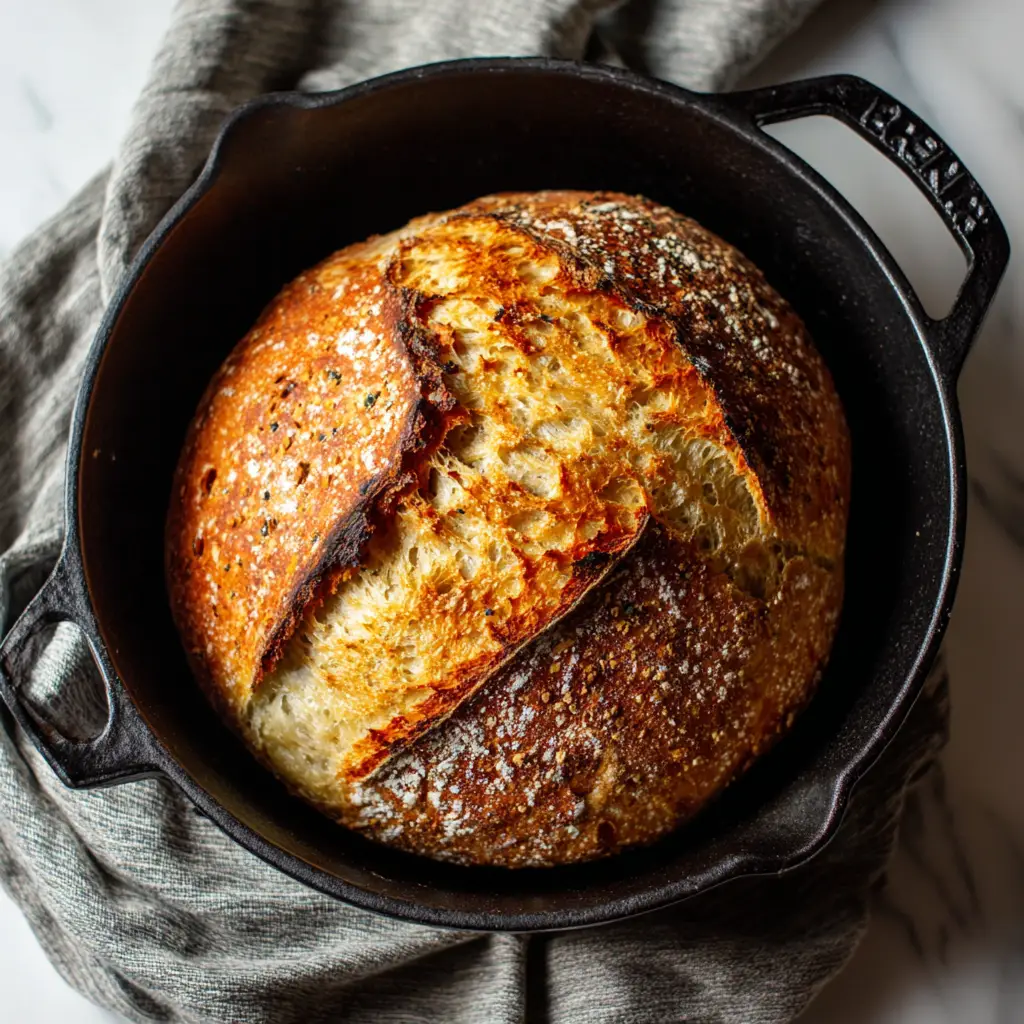
Bake covered for thirty minutes. Steam trapped inside the pot allows the bread to expand fully. Remove the lid and bake for another fifteen to twenty minutes. The crust should turn deep golden brown. Tap the bottom of the loaf. A hollow sound indicates it is done.
Transfer the bread to a wire rack. Let it cool completely before slicing. Cutting too soon can affect texture. Patience rewards you with a perfect crumb.
Tips for Customizing the Recipe
No knead bread welcomes creativity. Small additions transform flavor without complicating the process.
Whole wheat flour can replace up to one third of the all purpose flour. The loaf becomes nuttier and slightly denser. Increase water slightly if the dough feels too stiff.
Fresh herbs like rosemary or thyme add aroma. Mix chopped herbs into the dry ingredients before adding water. Garlic lovers can stir in roasted garlic cloves for deeper flavor.
Cheese creates a rich twist. Fold shredded cheddar or grated Parmesan into the dough after the first rise. The cheese melts beautifully during baking.
Seeds such as sesame, sunflower, or flax add texture and nutrition. Sprinkle them on top before baking or mix them directly into the dough.
For a slightly tangy profile, add a tablespoon of plain yogurt. That small change introduces subtle complexity without turning the recipe into full sourdough.
Sweet variations also work. Stir in a tablespoon of honey and a handful of raisins for a breakfast style loaf.
Experimenting keeps baking exciting. The core technique remains reliable even as flavors change.
Nutritional Information
No knead bread made with basic ingredients offers a straightforward nutritional profile. A standard loaf typically yields eight to ten slices depending on thickness.
One average slice contains approximately 150 to 180 calories. Carbohydrates provide most of the energy. Protein content ranges from 4 to 6 grams per slice due to the flour. Fat remains low unless olive oil or cheese is added.
Sodium levels depend largely on salt quantity. Reducing salt slightly can lower sodium without significantly affecting texture, though flavor may change.
Whole wheat substitutions increase fiber content. Seeds add healthy fats and micronutrients. Homemade bread also avoids preservatives commonly found in packaged options.
Balanced consumption fits well within most diets. Pairing bread with lean protein, vegetables, and healthy fats creates a complete meal.
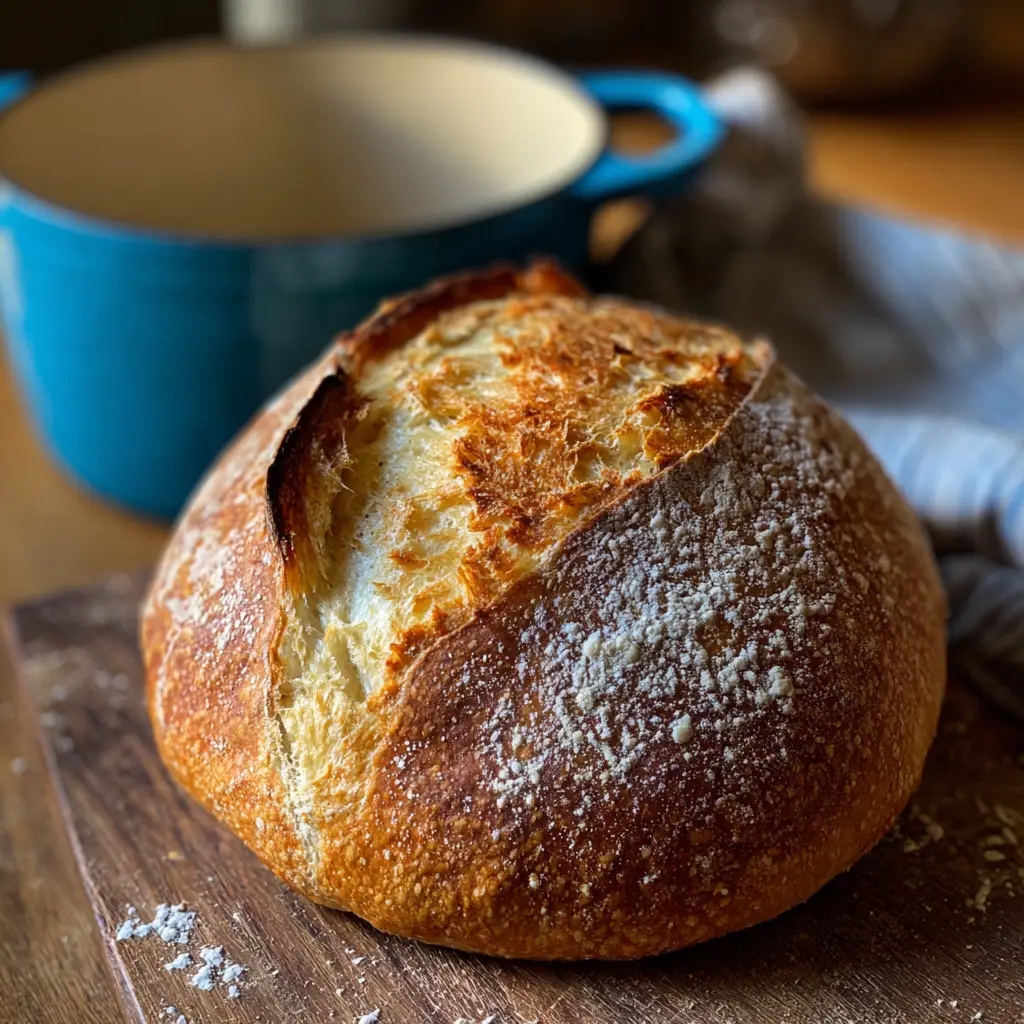
Serving Suggestions
Fresh no knead bread tastes wonderful on its own. A simple spread of butter melting into a warm slice feels indulgent yet comforting.
Serve thick slices alongside hearty soups such as tomato basil or chicken vegetable. The crust holds up well when dipped into broth.
Toast slices for breakfast and top with avocado, poached eggs, or nut butter. The sturdy crumb supports generous toppings without becoming soggy.
Use the bread for sandwiches. Its chewy texture pairs beautifully with roasted turkey, fresh mozzarella, or grilled vegetables.
Cut cubes for homemade croutons. Toss them with olive oil and herbs, then bake until crisp. They elevate any salad.
Entertaining guests becomes effortless with a freshly baked loaf placed at the center of the table. Tear and share moments create warmth and connection.
No Knead Bread Dutch Oven Recipe for Crispy Artisan Style Loaf
Course: Blog8
servings10
minutes50
minutes180
kcalIngredients
3 cups all purpose flour
1 and one fourth teaspoons active dry yeast
1 and one half teaspoons salt
1 and one half cups warm water
1 tablespoon olive oil optional
Directions
- In a large bowl combine flour, yeast, and salt. Mix well so the ingredients are evenly distributed.
- Pour warm water into the dry mixture. Stir with a spoon until a sticky and shaggy dough forms. Add olive oil if using and mix until combined.
- Cover the bowl tightly with plastic wrap or a clean towel. Let the dough rest at room temperature for 12 to 18 hours until it doubles in size and becomes bubbly.
- Lightly flour a clean surface. Gently transfer the dough onto the surface and fold it over itself two or three times to shape it into a rough ball. Let it rest for 30 minutes.
- Place a Dutch oven with its lid inside the oven and preheat to 450 degrees Fahrenheit. Heat the pot for at least 20 to 30 minutes.
- Carefully remove the hot Dutch oven. Place the dough onto parchment paper and lower it into the pot. Cover with the lid.
- Bake covered for 30 minutes. Remove the lid and bake for another 15 to 20 minutes until the crust turns deep golden brown.
- Remove the bread from the pot and let it cool completely on a wire rack before slicing.
Recipe Video
Notes
- For best results allow full fermentation time. Longer resting improves flavor and texture.
The dough should be sticky. Avoid adding too much extra flour.
Store bread at room temperature in a paper bag for up to two days.
Freeze sliced bread for longer storage and toast when needed.
Whole wheat flour can replace part of the all purpose flour for added fiber.
Frequently Asked Questions
Why does no knead bread work without kneading
Long fermentation allows gluten strands to form naturally. Time replaces physical effort. The dough strengthens as it rests.
Can I use instant yeast instead of active dry yeast
Yes. Instant yeast works well. Use the same quantity and mix directly with the flour.
What if I do not own a Dutch oven
A heavy oven safe pot with a tight lid works similarly. The key factor is steam retention during baking.
Why is my bread dense
Insufficient fermentation or expired yeast often causes density. Ensure the dough rests long enough and yeast remains fresh.
Can I refrigerate the dough
Yes. Refrigeration slows fermentation and enhances flavor. Let the dough return to room temperature before baking.
How do I store leftover bread
Keep it in a paper bag or wrapped in a clean towel at room temperature for up to two days. Freeze slices for longer storage.
Conclusion
Baking no knead bread in a Dutch oven brings artisan quality into any kitchen without stress or complicated steps. Flour, water, yeast, and salt combine to create something far greater than their individual parts. Time does most of the work. The Dutch oven handles the rest. Crisp crust and tender crumb reward even first time bakers with professional results.
Confidence grows with each loaf. Creativity follows naturally. Warm bread shared at the table carries a sense of comfort that never fades. Once you master no knead bread Dutch oven technique, homemade baking becomes part of everyday life rather than a special occasion.