Easy Dutch Oven Bread Recipe: Crispy Crust and Soft Center
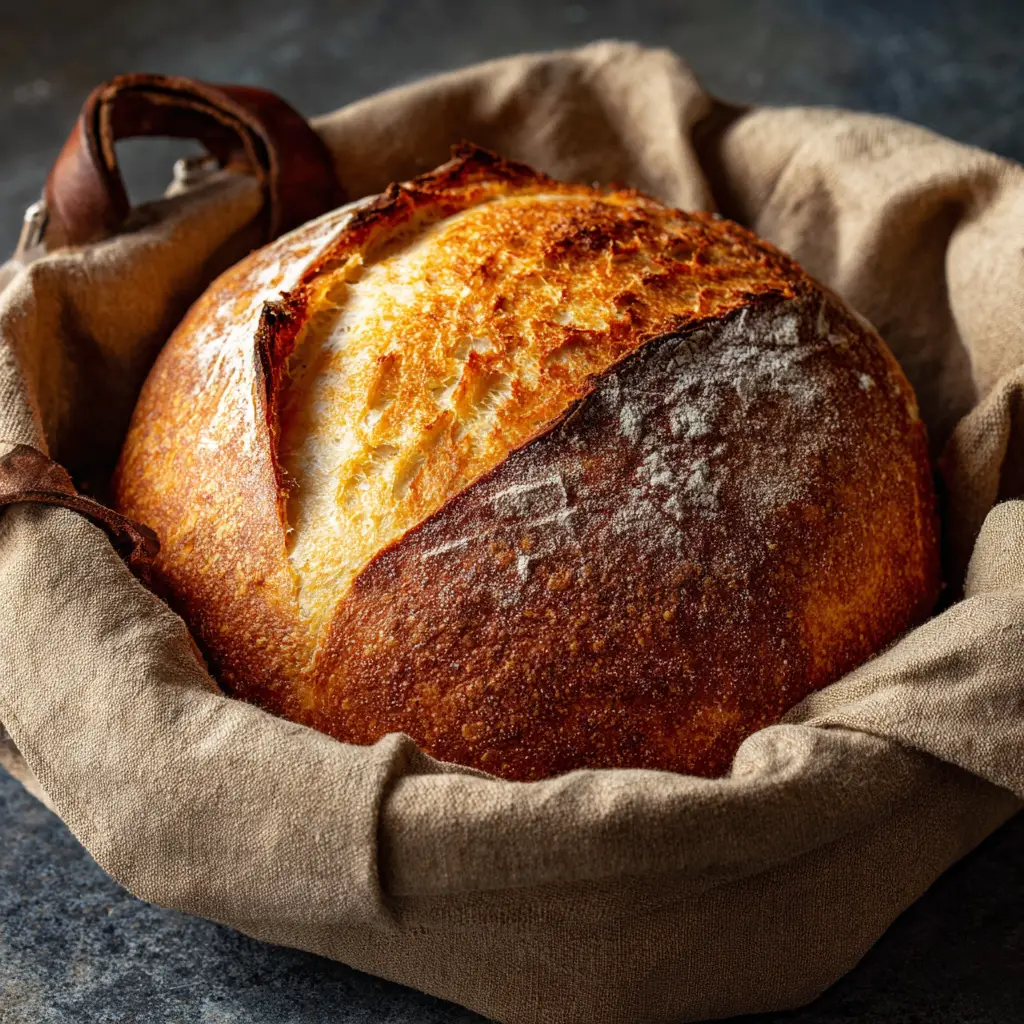
The smell of freshly baked bread drifting through the kitchen creates a kind of comfort that no store bought loaf can match. Warm crust. Soft center. A golden exterior that crackles as you slice into it. Easy Dutch oven bread delivers all of that with surprisingly little effort. No complicated techniques. No special baking skills required. Just simple ingredients and a reliable method that works every time.
Home bakers often assume artisan bread requires professional training or expensive tools. That belief keeps many people from even trying. A heavy Dutch oven changes everything. The enclosed environment traps steam and mimics a professional bread oven. Steam encourages a crisp crust while keeping the inside light and tender. The result feels bakery quality yet fits perfectly into a busy home schedule.
This easy Dutch oven bread recipe focuses on simplicity. The dough requires minimal kneading. Ingredients are basic pantry staples. The process is straightforward and forgiving. Even beginners can achieve a beautiful loaf with an airy crumb and deep flavor. Experienced bakers will appreciate how dependable the method feels.
Search interest for easy Dutch oven bread continues to grow because home cooks want reliable recipes that do not compromise on taste. Fresh bread pairs well with soups, salads, pasta, or simply a smear of butter. Once you try this method, baking bread becomes part of your weekly rhythm.
Let us walk through everything you need to know, from ingredients to baking tips, so you can confidently bake your own Dutch oven bread at home.
Ingredients Needed
Simple ingredients form the foundation of this easy Dutch oven bread. Quality matters, especially when working with so few components. Choose fresh yeast and good flour for the best results.
Below is a detailed ingredient list along with approximate calorie counts per total quantity used in one standard loaf.
| Ingredient | Quantity | Approximate Calories |
|---|---|---|
| All purpose flour | 3 cups | 1365 calories |
| Warm water | 1 and 1 half cups | 0 calories |
| Active dry yeast | 2 and 1 quarter teaspoons | 21 calories |
| Salt | 1 and 1 half teaspoons | 0 calories |
| Optional olive oil | 1 tablespoon | 119 calories |
Total calories for the entire loaf without olive oil are approximately 1386 calories. With olive oil, total calories are about 1505.
All purpose flour works beautifully in this recipe. Bread flour can also be used if you prefer a slightly chewier texture. Active dry yeast gives reliable rise. Warm water activates the yeast. Salt strengthens gluten structure and enhances flavor. Olive oil is optional but adds subtle richness.
Every ingredient plays a clear role. Keeping the list short ensures the flavor of the bread shines through.

Step by Step Cooking Instructions
Making easy Dutch oven bread requires patience more than skill. Each stage builds structure and flavor. Follow these steps carefully for consistent results.
Step 1: Activate the Yeast
Pour warm water into a large mixing bowl. The temperature should feel comfortably warm, not hot. Sprinkle active dry yeast over the water. Let it sit for about five to ten minutes. The surface will look foamy once activated. That foam indicates the yeast is alive and ready.
Step 2: Mix the Dough
Add flour and salt into the bowl. Stir using a wooden spoon until a shaggy dough forms. The dough will look rough and slightly sticky. That texture is perfect. If using olive oil, mix it in at this stage.
Avoid over mixing. The dough does not need heavy kneading. Gentle incorporation works best.
Step 3: First Rise
Cover the bowl with plastic wrap or a clean kitchen towel. Let the dough rise at room temperature for two to three hours. The dough should double in size. Bubbles will appear on the surface. This long rise develops flavor and texture.
For deeper flavor, you can refrigerate the dough overnight after the initial rise. Cold fermentation enhances taste and improves structure.
Step 4: Shape the Dough
Lightly flour your countertop. Transfer the dough onto the surface. Shape it gently into a round loaf by folding edges toward the center. Turn it seam side down. Avoid pressing out too much air.
Place the shaped dough onto parchment paper. Cover loosely and allow a second rise for about thirty to forty five minutes.
Step 5: Preheat the Dutch Oven
Place your Dutch oven with its lid inside the oven. Preheat to 450 degrees Fahrenheit. Heating the pot beforehand is crucial. The hot surface creates immediate steam and oven spring.
Allow at least thirty minutes for thorough heating.
Step 6: Bake the Bread
Carefully remove the hot Dutch oven from the oven. Lift the dough using the parchment paper and place it inside the pot. Cover with the lid.
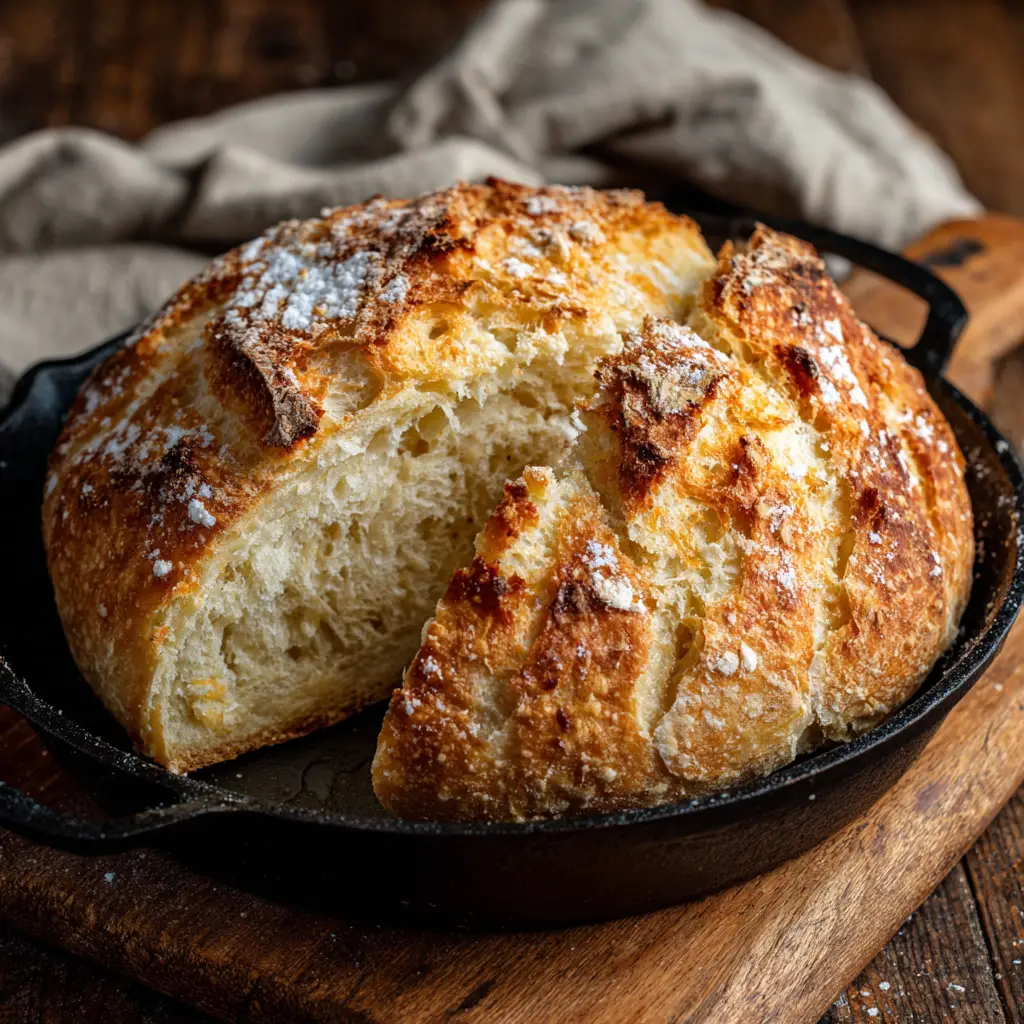
Bake covered for thirty minutes. Remove the lid and bake for an additional ten to fifteen minutes until the crust turns deep golden brown.
The bread should sound hollow when tapped. Internal temperature should reach around 200 degrees Fahrenheit.
Step 7: Cool Completely
Transfer the loaf to a wire rack. Cooling for at least one hour is essential. Cutting too early releases steam and affects texture.
Patience at this stage ensures perfect crumb structure.
Tips for Customizing the Recipe
Easy Dutch oven bread serves as a blank canvas. Small additions can completely transform flavor and texture.
Add chopped fresh rosemary and minced garlic for a savory twist. Stir them into the dough during mixing. The aroma while baking becomes irresistible.
Mix in shredded cheddar cheese and cracked black pepper for a bold loaf that pairs beautifully with soups.
Whole wheat flour can replace up to half of the all purpose flour. Doing so increases fiber and adds nutty flavor. Increase water slightly if using whole wheat, since it absorbs more moisture.
Seeds such as sesame, sunflower, or flax can be folded into the dough or sprinkled on top before baking. Lightly mist the surface with water so seeds adhere well.
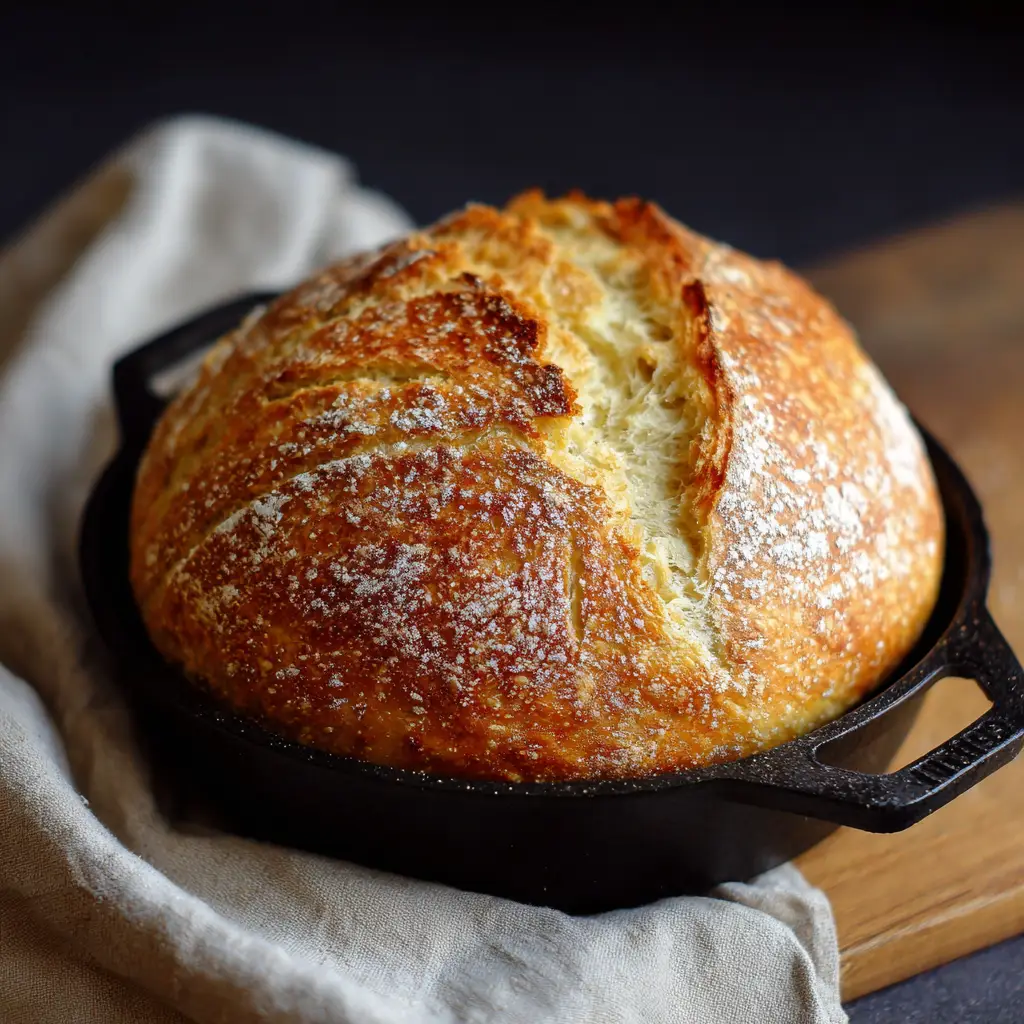
For a rustic touch, score the top of the loaf with a sharp knife before baking. Controlled scoring helps the bread expand evenly and creates a professional look.
Sweet variations also work. Add a tablespoon of honey and a handful of raisins for a mildly sweet breakfast loaf.
Experimenting with flavors keeps the recipe exciting while maintaining the same reliable method.
Nutritional Information
Understanding nutritional content helps balance homemade bread within a healthy diet.
A standard loaf yields about twelve slices. Without olive oil, each slice contains roughly:
Calories about 115
Carbohydrates about 24 grams
Protein about 3 grams
Fat about 0.5 grams
Fiber about 1 gram
Sodium varies based on salt used, approximately 150 milligrams
Adding olive oil increases fat content slightly and raises calories per slice to around 125.
Easy Dutch oven bread contains no preservatives, additives, or artificial ingredients. The simplicity appeals to those seeking wholesome baking. Pairing bread with lean proteins and vegetables creates balanced meals.
Portion control remains important. Homemade bread tastes so good that extra slices feel tempting.
Serving Suggestions
Fresh Dutch oven bread complements countless meals. Thick slices served warm with salted butter make a simple yet satisfying snack.
Serve alongside hearty soups like tomato basil or vegetable stew. The crust holds up beautifully when dipped into broth.
Use slices for gourmet sandwiches filled with roasted turkey, fresh mozzarella, or grilled vegetables. Toasted bread develops even deeper flavor and crunch.
Cube leftover bread to make homemade croutons. Toss with olive oil and herbs, then bake until crisp.
French toast made from slightly stale Dutch oven bread delivers exceptional texture. The sturdy crumb absorbs custard without falling apart.
Bread boards for gatherings benefit from a rustic loaf. Pair with cheeses, cured meats, olives, and fruit for an impressive spread.
Storing bread properly extends freshness. Keep it wrapped in a clean towel at room temperature for up to three days. For longer storage, slice and freeze. Toast slices directly from frozen for convenience.

Easy Dutch Oven Bread Recipe: Crispy Crust and Soft Center
Course: Blog4
servings10
minutes15
minutes80
kcalIngredients
2 medium yellow squash, sliced into ½ inch rounds
1 tablespoon olive oil
½ teaspoon salt
¼ teaspoon black pepper
½ teaspoon garlic powder (optional)
½ teaspoon paprika (optional)
Directions
- Preheat the air fryer to 400 degrees Fahrenheit for 3 to 5 minutes.
- In a mixing bowl, toss the squash slices with olive oil, salt, pepper, garlic powder, and paprika until evenly coated.
- Place the squash in a single layer in the air fryer basket. Avoid overcrowding for even cooking.
- Air fry at 400 degrees Fahrenheit for 12 to 15 minutes, shaking the basket halfway through cooking to ensure even browning.
- Check for tenderness. The squash should be golden brown and slightly crispy on the edges.
- Remove from the air fryer and serve immediately.
Recipe Video
Notes
- Cutting squash evenly ensures uniform cooking.
Adjust seasoning to taste; fresh herbs like thyme or parsley work well.
For softer squash, reduce air frying time by a few minutes.
Frequently Asked Questions
Why bake bread in a Dutch oven?
A Dutch oven traps steam during baking. Steam creates a crispy crust and allows maximum rise. The method mimics professional bakery ovens.
Can I use instant yeast instead of active dry yeast?
Yes. Instant yeast can be mixed directly with flour. The rise time may be slightly shorter.
Why is my bread dense?
Dense texture often results from insufficient rise time or inactive yeast. Make sure yeast foams during activation and allow the dough to double fully.
Can I make this recipe gluten free?
Traditional structure relies on gluten development. Gluten free flour blends can be tested, but texture will differ and may require additional binders.
Do I need parchment paper?
Parchment paper makes transferring dough safer and easier. Light flour dusting can work if parchment is unavailable, but caution is needed with the hot pot.
How do I know when the bread is done?
A deep golden crust and hollow sound when tapped indicate doneness. Internal temperature around 200 degrees Fahrenheit confirms proper baking.
Conclusion
Baking easy Dutch oven bread brings both satisfaction and incredible flavor into your kitchen. Simple ingredients transform into a loaf with crisp crust and tender interior. The method feels approachable even for beginners. Each step builds confidence. Each slice rewards patience.
Homemade bread invites creativity. Herbs, cheese, seeds, or whole grains can reshape the flavor profile while preserving the reliable technique. Warm bread shared at the table strengthens everyday meals and special occasions alike.