Dutch Oven Recipes for Delicious, Easy, and Healthy Meals
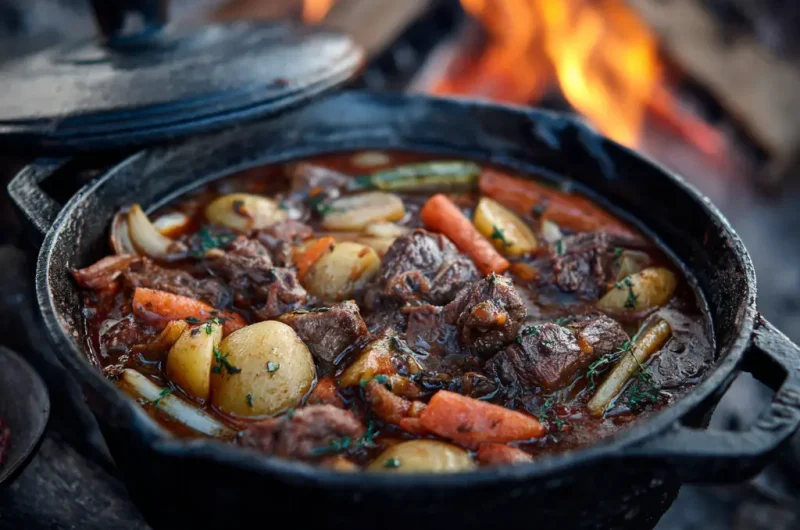
Dutch oven recipes have earned a permanent place in home kitchens for good reason. A dutch oven offers comfort, reliability, and a deep sense of tradition that modern cookware often lacks.
The thick walls and heavy lid create a steady cooking environment that brings out bold flavors while keeping food tender and rich. Home cooks around the world rely on this single pot to prepare meals that feel slow cooked and thoughtful, even on busy days.
Ingredients Needed
A well balanced dutch oven recipe relies on simple and accessible ingredients. Each component plays a clear role in building flavor, texture, and nutrition. The list below reflects a hearty and versatile base recipe that can be adapted easily.
| Ingredient | Quantity | Calories |
|---|---|---|
| Boneless chicken thighs | 2 pounds | 920 |
| Olive oil | 2 tablespoons | 240 |
| Yellow onion | 1 large | 60 |
| Garlic cloves | 4 | 20 |
| Carrots | 3 medium | 75 |
| Celery stalks | 2 | 30 |
| Crushed tomatoes | 28 ounces | 150 |
| Chicken broth | 3 cups | 45 |
| Fresh thyme | 1 tablespoon | 5 |
| Bay leaf | 1 | 2 |
| Salt | To taste | 0 |
| Black pepper | To taste | 0 |
These ingredients create a balanced dish that feels comforting and nourishing. Each item can be swapped based on taste preferences or dietary needs without compromising the core structure of the recipe.
Step by Step Cooking Instructions
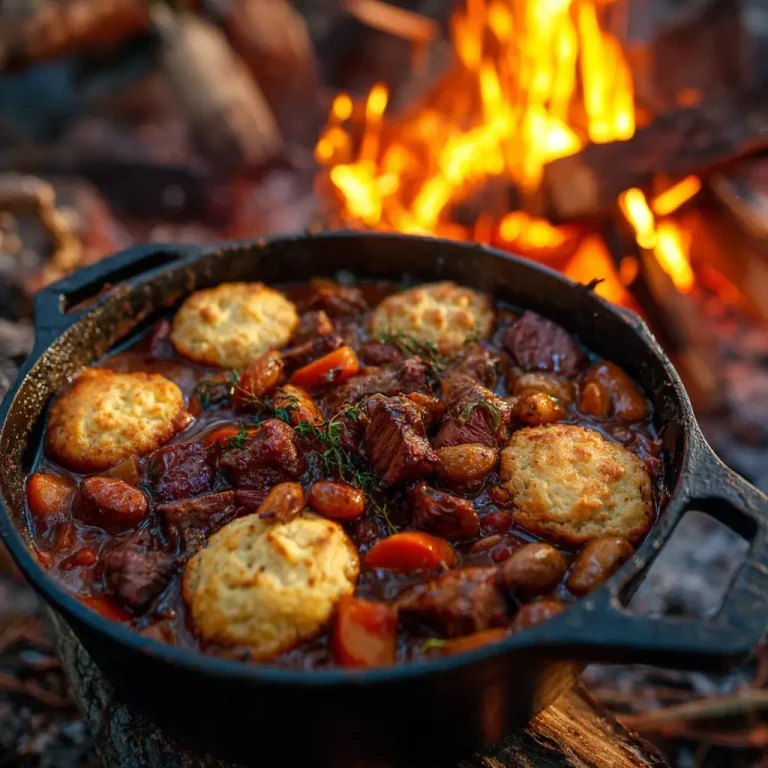
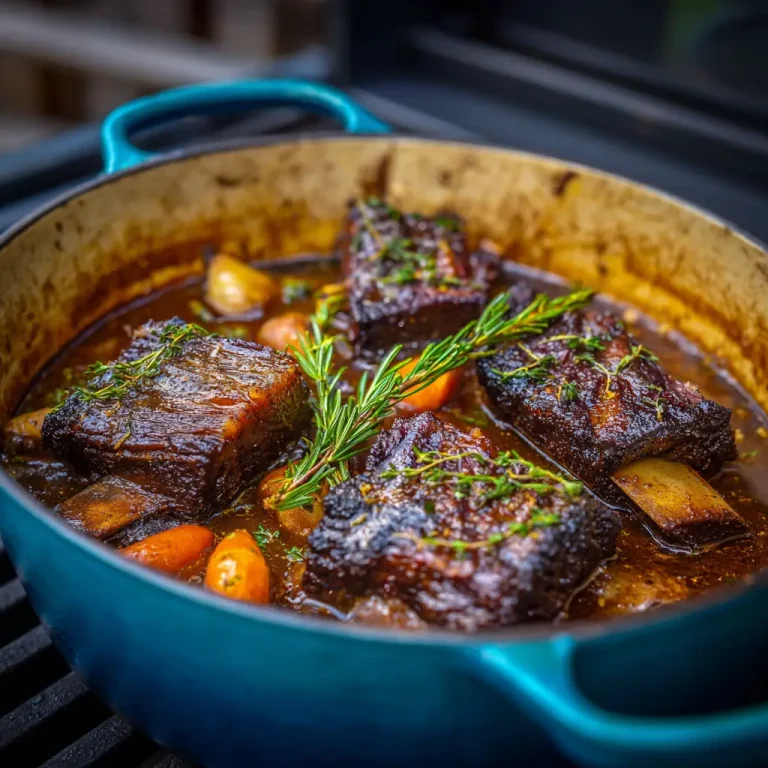
Begin by placing the dutch oven on the stovetop over medium heat. Allow it to warm slowly. Add olive oil once the pot feels warm. The oil should shimmer but not smoke. This stage sets the foundation for proper browning and flavor development.Pair this meal with Braised Short Ribs Dutch Oven for a complete experience.
Season the chicken thighs generously with salt and black pepper. Place them skin side down if using skin on pieces. Avoid overcrowding the pot. Let the chicken sear undisturbed for several minutes. A golden crust will form naturally. Flip the pieces and brown the other side. Remove the chicken and set it aside. The browned bits left behind are full of flavor.
Add chopped onion to the pot. Stir gently while scraping the bottom. The onion will soften and absorb the browned residue. Cook until translucent and fragrant. Add minced garlic and cook briefly. Garlic should smell aromatic without turning dark.
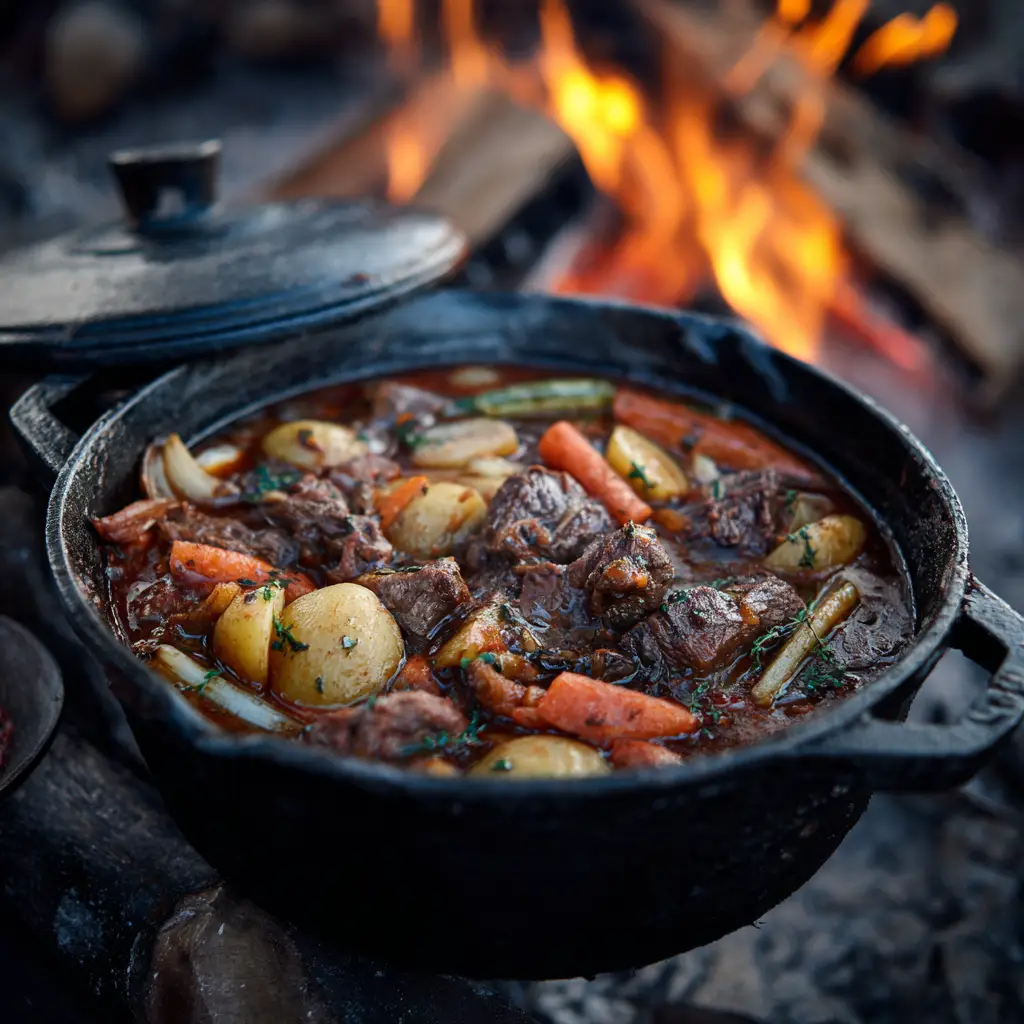
Stir in carrots and celery. Let them cook for several minutes. The vegetables will soften slightly and release natural sweetness. This step builds depth and balances the richness of the meat.
Pour in crushed tomatoes and chicken broth. Stir well to combine. Add fresh thyme and bay leaf. Bring the mixture to a gentle simmer. Taste the liquid and adjust seasoning as needed.
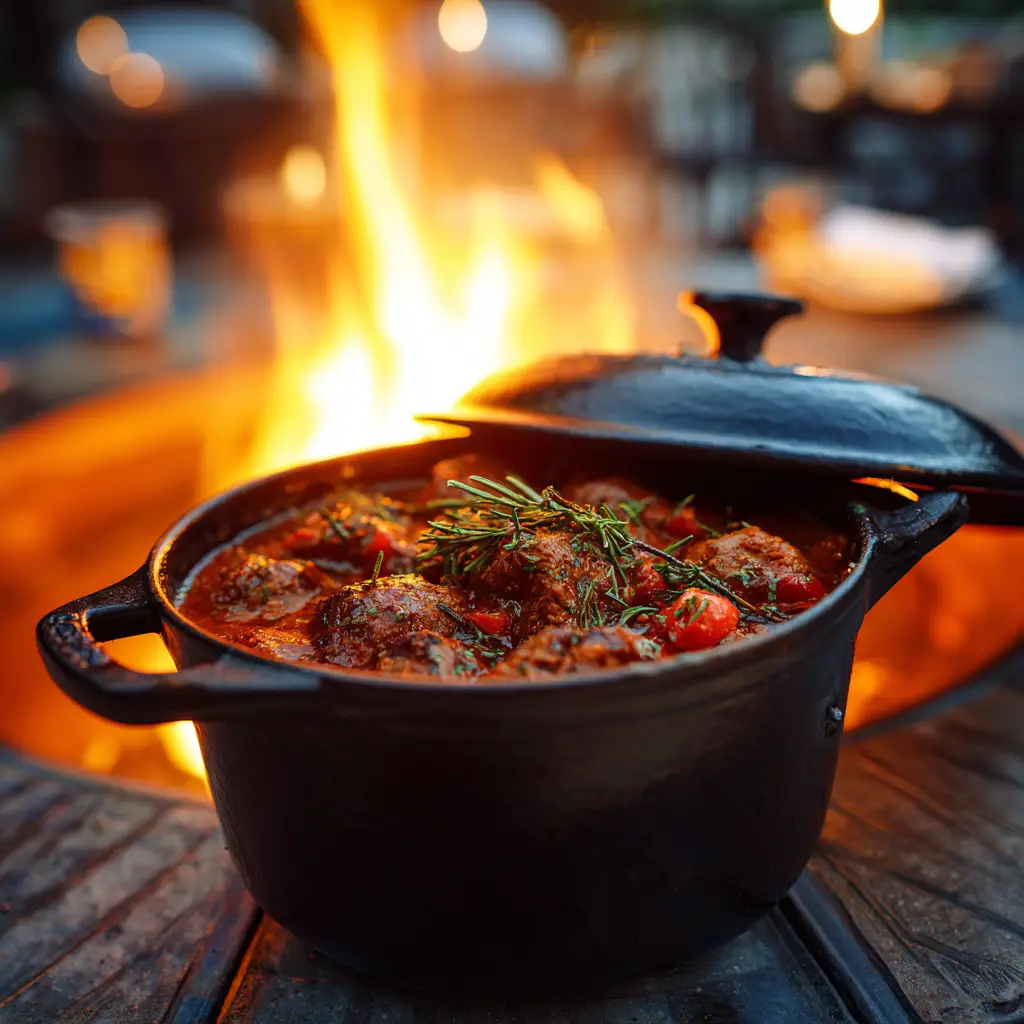
Return the chicken to the pot. Nestle each piece into the liquid so it is partially submerged. Cover the dutch oven with its lid. Transfer the pot to a preheated oven set to a moderate temperature.
Allow the dish to cook slowly for about ninety minutes. The gentle heat transforms the chicken into tender pieces that absorb the surrounding flavors. Check occasionally to ensure the liquid maintains a steady simmer.
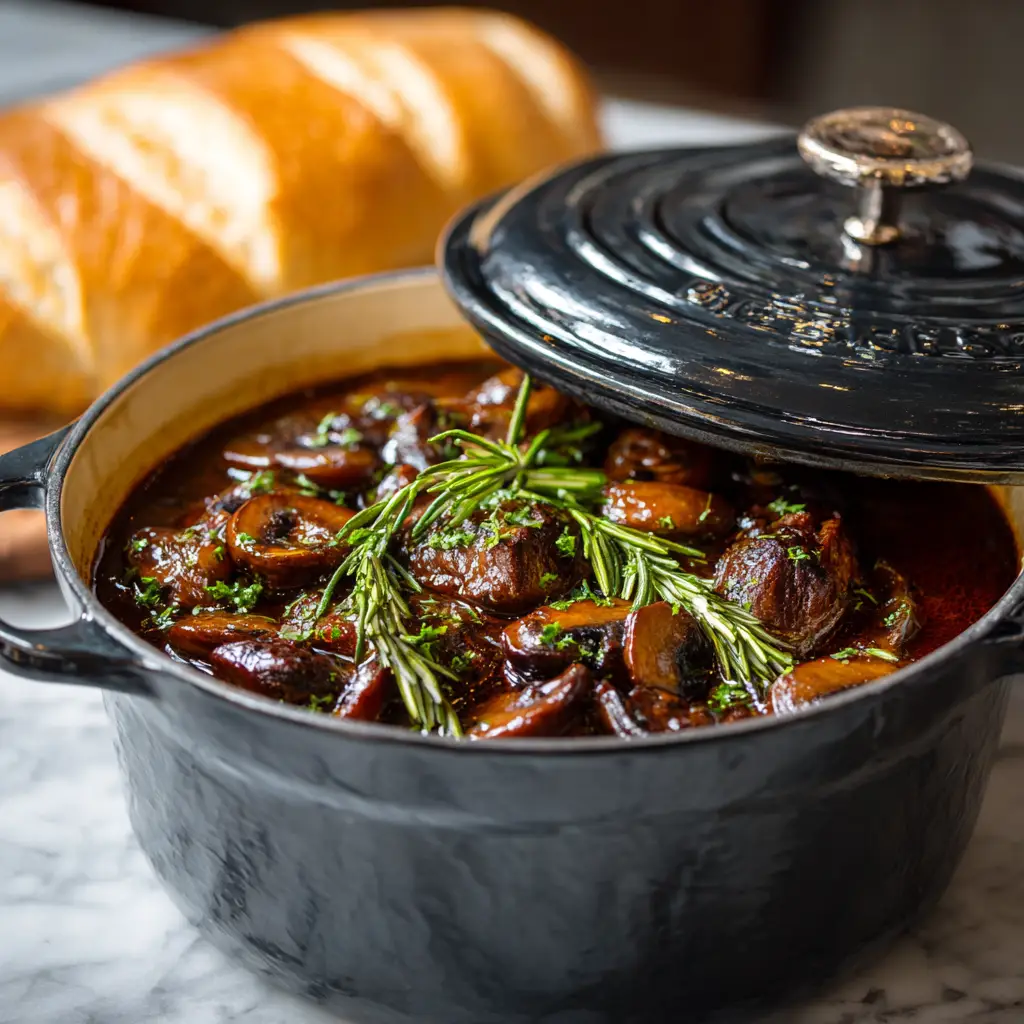
Remove the dutch oven from the oven carefully. Let it rest uncovered for a few minutes. The sauce will thicken slightly as it cools. Remove the bay leaf before serving. The final dish should feel rich, aromatic, and deeply satisfying.
Tips for Customizing the Recipe
Customization keeps dutch oven recipes exciting. Small changes can create entirely new meals without extra effort. Protein swaps work beautifully. Beef chuck, lamb shoulder, or even chickpeas offer different textures and flavors while following the same cooking method.
Vegetables can be adjusted based on season or preference. Potatoes add heartiness. Mushrooms bring earthiness. Bell peppers introduce sweetness and color. Leafy greens like kale or spinach can be stirred in near the end for added nutrition.
Herbs and spices allow personal expression. Rosemary offers a woodsy aroma. Paprika adds warmth. A pinch of chili flakes creates gentle heat. Always adjust seasoning gradually and taste often.
Liquid choices matter. White wine adds brightness. Coconut milk creates creaminess. Vegetable broth keeps the dish lighter. Combining liquids can produce complex results that feel intentional and refined.
Texture adjustments help tailor the meal. For a thicker sauce, remove the lid during the final cooking stage. For a lighter broth, add extra liquid near the end. Each adjustment helps you shape the final outcome.
Nutritional Information
This dutch oven recipe delivers balanced nutrition alongside comfort. Protein from chicken supports muscle health and satiety. Vegetables contribute fiber, vitamins, and minerals that support digestion and immunity.
Healthy fats from olive oil aid nutrient absorption and add richness. Tomatoes provide antioxidants like lycopene. Herbs contribute trace nutrients and anti inflammatory properties.
A typical serving offers a satisfying balance of macronutrients without excessive calories. The slow cooking process preserves nutrients while enhancing flavor naturally. Portion control remains simple because the dish feels filling and nourishing.
Those managing specific dietary goals can adapt easily. Reducing oil lowers fat content. Adding more vegetables increases fiber. Choosing leaner protein decreases calories while maintaining flavor.
Serving Suggestions
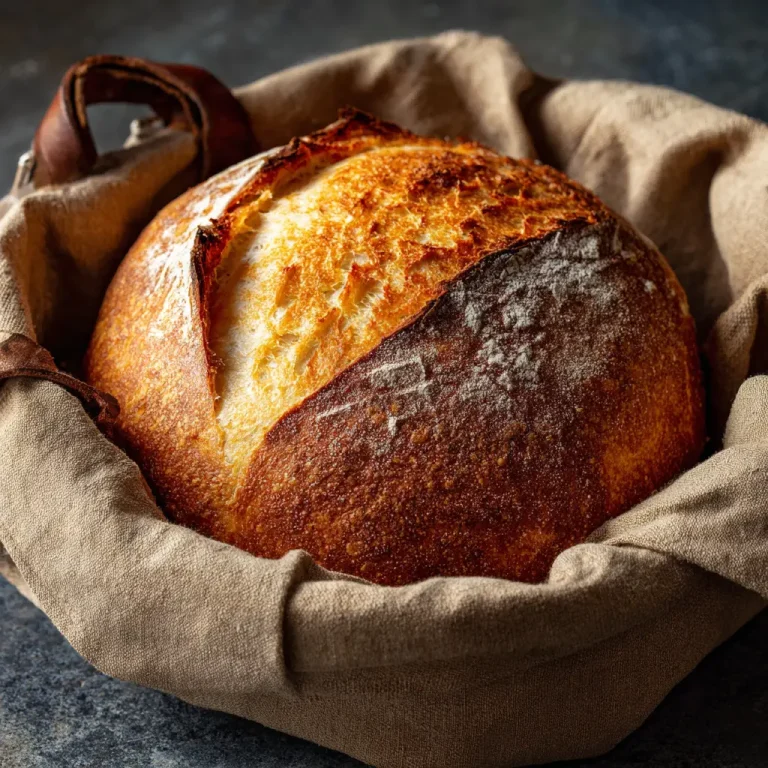
Serve this dutch oven dish with crusty bread to soak up the sauce. Mashed potatoes create a comforting pairing that complements the rich texture. Steamed rice or polenta offers a neutral base that highlights the flavors.
For a lighter option, pair the dish with a simple green salad dressed in lemon and olive oil. The acidity balances the richness of the main dish. Roasted vegetables also work well and add color to the plate.
Presentation matters. Serve directly from the dutch oven for a rustic and inviting feel. Garnish with fresh herbs for brightness and aroma. The dish suits both casual family dinners and relaxed gatherings with friends.
Leftovers store well and often taste even better the next day. The flavors continue to develop, making this recipe ideal for meal planning and batch cooking.
Dutch Oven Recipes for Delicious, Easy, and Healthy Meals
Course: Blog4
servings15
minutes30
minutes380
kcalIngredients
2 pounds boneless chicken thighs
2 tablespoons olive oil
1 large onion chopped
4 garlic cloves minced
3 medium carrots sliced
2 celery stalks chopped
28 ounces crushed tomatoes
3 cups chicken broth
1 tablespoon fresh thyme
Directions
- Heat the dutch oven over medium heat and add olive oil. Allow the oil to warm until it begins to shimmer. Season the chicken thighs with salt and black pepper on both sides.
- Place the chicken into the pot and brown each side until golden. Remove the chicken and set it aside on a plate. Do not discard the browned bits in the pot.
- Add the chopped onion to the same pot and cook until soft and fragrant. Stir occasionally and scrape the bottom to release flavor. Add minced garlic and cook for about thirty seconds.
Recipe Video
Notes
- This recipe is perfect for meal prep and tastes even better the next day. You can replace chicken thighs with beef or vegetables for variation. For a thicker sauce, remove the lid during the last fifteen minutes of cooking. Always taste and adjust seasoning before serving for best flavor.
Frequently Asked Questions
What makes a dutch oven ideal for slow cooking
The thick walls and heavy lid distribute heat evenly and retain moisture. This environment allows food to cook gently and consistently without drying out.
Can this recipe be made on the stovetop only
Yes it can. Maintain a very low simmer and stir occasionally. Cooking time may be slightly longer to achieve the same tenderness.
How long do leftovers stay fresh
Stored in an airtight container, leftovers remain fresh for up to four days in the refrigerator. Reheat gently to preserve texture.
Is a dutch oven suitable for beginners
Absolutely. The forgiving nature of the pot makes it ideal for learning fundamental cooking techniques with reliable results.
Can this recipe be frozen
Yes. Allow the dish to cool completely before freezing. It keeps well for up to three months and reheats beautifully.
Conclusion
Dutch oven recipes bring together tradition, flavor, and practicality in a way few cooking methods can match. A single pot transforms simple ingredients into meals that feel intentional and deeply satisfying. Cooking this way encourages patience and creativity while delivering consistent results.