Lemon Bars Recipe: Easy Homemade Dessert with Fresh Lemon Flavor
Introduction
Lemon bars offer a delightful blend of bright citrus flavour combined with the comforting richness of buttery shortbread. When you bake a pan of lemon bars you invite a dessert that feels both lively and homey at the same time

Whether you are an experienced baker or someone trying their hand at baking for the first time you will find this guide helpful and easy to follow. Let’s dive into creating classic lemon bars you will want to make again and again.
Ingredients Needed
Here is a list of the ingredients typically required to make lemon bars, along with an approximate calorie count for each component. The totals will vary depending on portion size and exact brands used, but this gives you a good estimate.
| Ingredient | Approximate Calories* |
|---|---|
| All-purpose flour (about 1 ¾ cups / 249 g) | ~ 900 kcal |
| Powdered sugar / icing sugar (⅔ cup / 76 g) | ~ 290 kcal |
| Cornstarch or rice flour (¼ cup / ~31 g) | ~ 110 kcal |
| Salt (pinch / ~½ tsp) | negligible |
| Butter (12 tablespoons / 170 g) | ~ 1 220 kcal |
| Large eggs (4) | ~ 280 kcal |
| Granulated sugar (1 ⅓ cups / 283 g) | ~ 1 130 kcal |
| Fresh lemon zest (from 2 lemons) | ~ 10 kcal |
| Fresh lemon juice (⅔ cup / ~160 ml) | ~ 40 kcal |
| Milk (⅓ cup / ~80 ml) | ~ 40 kcal |
| Optional powdered sugar for dusting | ~ 30 kcal |
*Estimated totals approximate; actual calories depend on specific ingredients and brands.
Total estimated calories for the full pan (yielding ~24 bars) is around ~4 050 kcal. That means each bar (if you cut 24 pieces) is roughly ~170 kcal.
Step-by-Step Cooking Instructions
- Preheat and prepare the pan
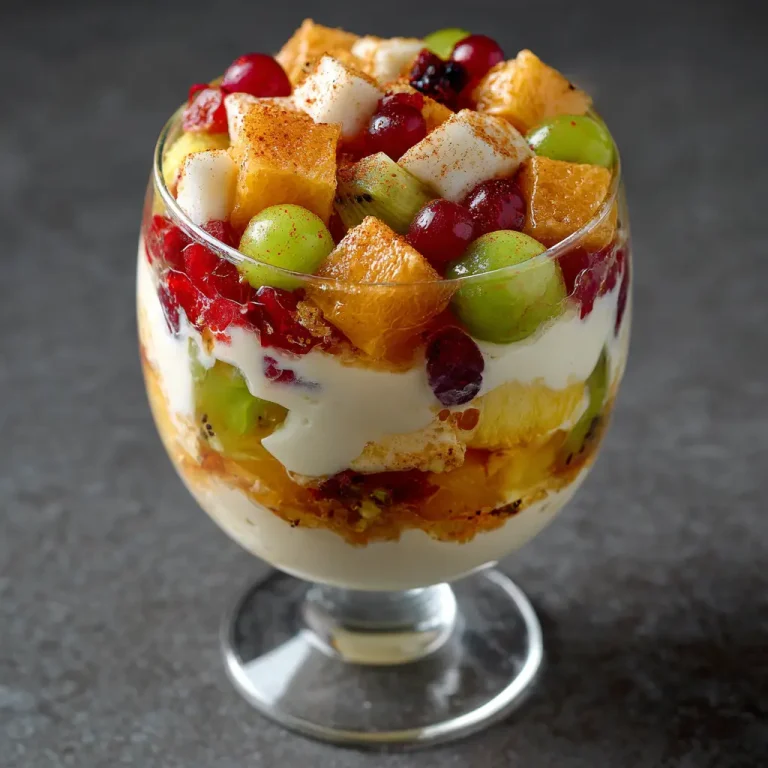
Preheat your oven to 350 °F (about 175-180 °C). Line a 9 × 13-inch or a similar sized square baking dish with parchment paper, leaving an overhang for easy removal afterwards. Lightly grease the sides if you like.Continue your cooking journey with Fruit Salad with Vanilla Pudding_ right after this. - Make the shortbread crust
In a bowl combine the all-purpose flour, powdered sugar, cornstarch (or rice flour) and salt. Add the butter (cut into pieces) and use a pastry blender or your fingers to rub in the butter until the mixture holds together when pressed. Then press this mixture evenly into the bottom of the prepared pan. Bake for about 20 minutes or until the edges are lightly golden. Remove from oven (keep the oven on). - Prepare the lemon filling
While the crust is baking whisk together the eggs, granulated sugar, flour, lemon zest, lemon juice, milk and a pinch of salt until smooth and well combined. - Pour and bake the filling
Immediately after the crust is done baking, pour the lemon filling mixture over the hot crust and return it to the oven. Bake for about 20-25 minutes or until the filling is just set (the center may jiggle slightly but should not be runny). - Cool and chill
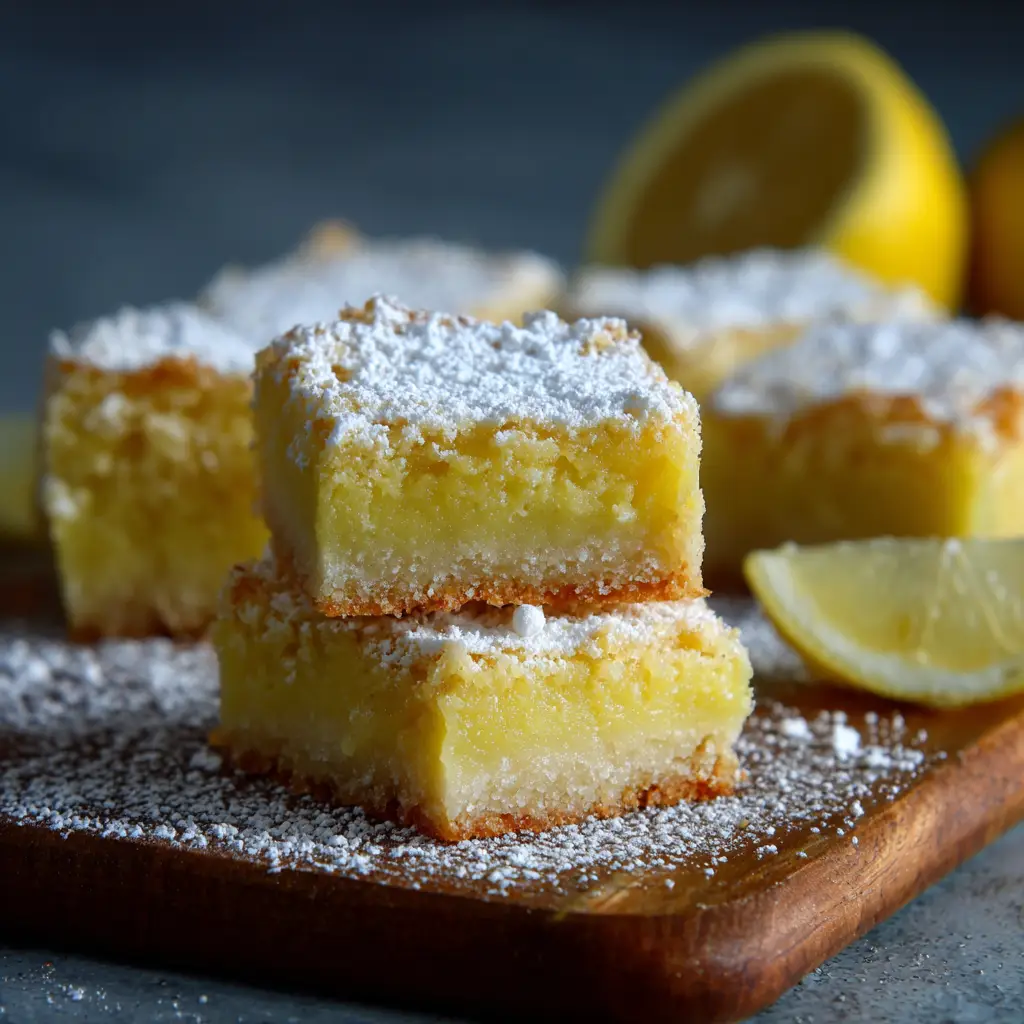
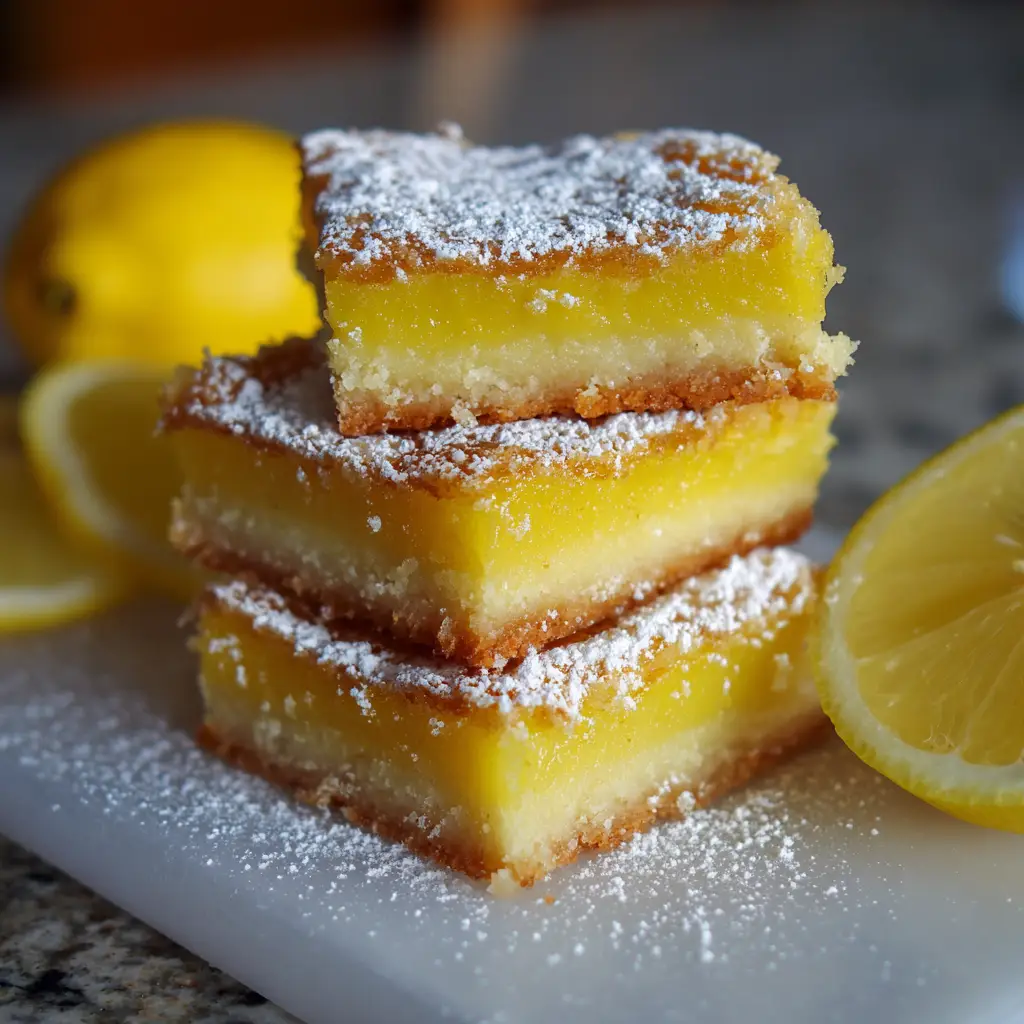
Remove from oven and allow the pan to cool on a wire rack for about one hour. Then refrigerate the bars for at least two hours or until fully chilled. This helps the lemon layer firm up and makes cutting easier. - Dust and serve
Using the parchment overhang lift the bars out of the pan. Dust generously with powdered sugar just before cutting. Then cut into squares or rectangles (for example 24 pieces) and serve. - Store properly
Keep the bars in an airtight container. They will stay fresh in the refrigerator for up to about four days. For longer storage you may freeze them (without the powdered sugar dusting) in a sealed container with parchment paper between layers.
Tips for Customizing the Recipe
- Add zest to the crust: Incorporate a teaspoon or so of lemon zest into the crust mixture to enhance the citrus aroma and deepen the flavour.
- Use different citrus: Try substituting part of the lemon juice with lime or orange for a citrus twist. A mix of lemon and lime keeps the brightness but introduces a new dimension.
- Make it nutty: Add chopped pistachios or almonds to the crust for texture and flavour. For instance a modern twist uses pistachios and olive oil for the crust.
- Thicker lemon layer: To achieve a more substantial lemon filling reduce the crust thickness or increase the filling ingredients slightly. Many bakers prefer a high ratio of lemon layer to crust for maximal flavour.
- Less sugar for tangy finish: If you prefer sharper citrus flavour reduce the granulated sugar by 10-15%. The tartness of lemon will shine through more cleanly.
- Decorative toppings: For extra flair dust with powdered sugar, or swirl a thin layer of white chocolate before chilling or top with a few candied lemon slices.
- Serve warm or cool: Some people enjoy the bars slightly warm (just out of refrigeration) for a gooey texture. Others prefer them fully chilled for firm slicing. Choose your preference.
- Gluten free variation: Use a gluten free flour blend for the crust and ensure the flour you use in the filling portion is gluten free. The technique remains the same.
- Vegan variation: With more adaptation you can explore vegan butter, aquafaba or flax eggs, and use alternative sweeteners though structure may differ slightly.
Nutritional Information
Here is an approximate nutrition breakdown for one lemon bar (assuming a cut into 24 pieces) based on the estimated totals above. Keep in mind these are estimations only.
If you alter portion size, crust thickness, or sugar content, the values will shift. For those tracking macros or calories more strictly consider calculating based on the brands and actual weights you use. The lemon bars provide a moderate dessert portion—indulgent yet manageable if included thoughtfully in a balanced diet.
Serving Suggestions
Lemon bars shine when paired with simple accompaniments that highlight their citrus brightness and buttery base. Here are some suggestions:
- Serve each bar dusted with additional powdered sugar for a refined look.
- Present alongside fresh berries such as raspberries or blueberries; their juicy sweetness complements the tart lemon.
- A dollop of whipped cream or a scoop of vanilla ice cream works beautifully—borrow from classic dessert pairings.
- For an afternoon tea, place lemon bars on a tiered stand alongside tea sandwiches or shortbread biscuits.
- Offer mini versions by cutting smaller bars to make them perfect for buffet tables or potlucks.
- For brunch or lighter dessert, serve with a cup of hot herbal tea (for example chamomile or mint) or a cold sparkling lemonade to echo the citrus theme.
- If you want a coffee pairing, go with a light roast or a citrusy cold brew to keep the flavour profile lively rather than heavy.
- Store any leftovers in a sealed container in the fridge and bring to room temperature for about 10-15 minutes before serving to soften slightly and release aroma.

Lemon Bars Recipe: Easy Homemade Dessert with Fresh Lemon Flavor
Course: Blog24
servings20
minutes45
minutes170
kcalIngredients
For the Crust:
1 ¾ cups (about 249 g) all-purpose flour
⅔ cup (about 76 g) powdered sugar
¼ cup (about 31 g) cornstarch or rice flour
½ teaspoon salt
12 tablespoons (170 g) cold unsalted butter, cut into cubes
For the Lemon Filling:
4 large eggs
1 ⅓ cups (283 g) granulated sugar
3 tablespoons all-purpose flour
Zest of 2 lemons
Directions
- Prepare the oven and pan
- Preheat oven to 350°F (175°C). Line a 9 × 13-inch baking pan with parchment paper, leaving some overhang on the sides for easy removal.
- Make the crust
- In a bowl, whisk together flour, powdered sugar, cornstarch, and salt. Add the cold butter and blend using a pastry blender or your hands until the mixture becomes crumbly. Press the dough evenly into the bottom of the pan.
- Bake the crust
- Bake for 18–20 minutes or until the edges turn light golden. Keep the oven on.
Recipe Video
Notes
- Always use fresh lemon juice for the best bright and tangy flavor. Bottled juice often tastes flat.
Make sure to bake the crust fully before adding the lemon filling to prevent sogginess.
For a thicker filling, reduce the crust amount slightly or use a smaller baking pan.
Chill completely before slicing for neat, clean edges.
Frequently Asked Questions (FAQs)
Q1. Why is my lemon filling too runny after baking?
If the filling is too runny it may be under-baked, or the crust was too cool when the filling was poured in causing separation. Make sure the crust is hot and bake until the centre is nearly set (just a slight jiggle is fine). Cooling fully then refrigerating helps firm it up.
Q2. Can I prepare lemon bars ahead of time?
Yes you can. They actually benefit from chilling for several hours or overnight before cutting. Store them in the refrigerator in an airtight container. For longer term storage freeze without the powdered sugar and wrap well.
Q3. How thick should the crust and filling layers be?
A good rule of thumb is about one-third of the depth for crust and two-thirds for filling in a 9 × 13-inch pan. If you prefer thicker filling reduce crust proportionally or use a slightly smaller pan.
Q4. Why did the top of my bars crack or bubble?
Cracking or bubbling can result from over-whisking the eggs and sugar (incorporating too much air) or baking at too high a temperature. Whisk gently and bake at the correct temperature to avoid that.
Q5. Can I use bottled lemon juice instead of fresh?
Fresh lemon juice is strongly recommended because the flavour and brightness make a big difference. Bottled juice may work in a pinch but the result will be less vibrant.
Q6. What pan size should I use?
Use a 9 × 13-inch (23 × 33 cm) baking pan or equivalent. If you use a smaller pan the bars will be thicker and may require slightly more baking time. Always adjust accordingly.
Q7. My crust is soggy under the filling. What went wrong?
A soggy crust usually indicates that the crust was not baked long enough before pouring the filling. Bake the crust until lightly golden at edges and firm to the touch before adding the filling.
Conclusion
Crafting a tray of homemade lemon bars brings a delightful contrast of sweet and tart, buttery and bright. You can confidently follow the steps above to make a dessert that looks and tastes impressive while being accessible. With a well-baked crust, a vibrant lemon layer, and thoughtful presentation these bars will become a favourite in your recipe collection.